Continuous deployment on Google Cloud Platform with Cloud Build and Cloud Run
 Trung Tran
In previous posts, I already introduced some options to deploy a containerized application to cloud infrastructures, including Azure Container Instance & AWS App Runner. In this post, I will take one more step further in the development practice, step by step deploying a node.js application to Google Cloud Platform using GCP Cloud Run and implement continuous deployment with support from GCP Cloud Build, check it out!
Pre-requisites
- Google Cloud Platform console account with an active billing account.
- Basic knowledge of Docker & Node.js.
- Familiar with Google Cloud Platform console.
- A GitHub account
1. Create a hello-world node.js application
To make the guidelines simple, we will create a hello-world node.js application with source codes as below using the Express framework (refer: https://expressjs.com/en/starter/hello-world.html).
const express = require('express')
const app = express()
const port = 8080

app.get('/', (req, res) => {
  res.send('Hello World!')
})

app.listen(port, () => {
  console.log(`Example app listening on port ${port}`)
})
Next, let's test our application locally using the below commands:
$ npm init
$ npm install express
$ node app.js
After starting successfully, verify the app at http://localhost:8080/ (make sure port 8080 is free before running our application). You are supposed to see the "Hello World" message on the application response.
2. Dockerize our application
To dockerize our node.js application, first, create a Dockerfile at the same level as app.js. Then modify the content of the Dockerfile as below:
FROM node:16-alpine

# Create app directory
WORKDIR /usr/src/app

# Install app dependencies
# A wildcard is used to ensure both package.json AND package-lock.json are copied
# where available (npm@5+)
COPY package*.json ./

RUN npm install
# If you are building your code for production
# RUN npm ci --only=production

# Bundle app source, copy everything in current folder to /usr/src/app (workdir)
COPY . .

EXPOSE 8080
CMD [ "node", "app.js" ]
Next, let's build our docker image and run it container.
Build docker image with tag node-hello-world:latest
$ docker build -t node-hello-world:latest .

Run docker image and map port 8080 from host network to port 8080 in container
$ docker container run -dt --name node-hello-world -p 8080:8080 node-hello-world
Congrats, you're successfully dockerized your node.js application and run it, verify the result at http://localhost:8080/, you should also see the "Hello World" response message.
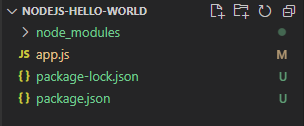
Add a .gitignore with the content below to ignore the node_modules folder before pushing codes to the repository.
node_modules/*
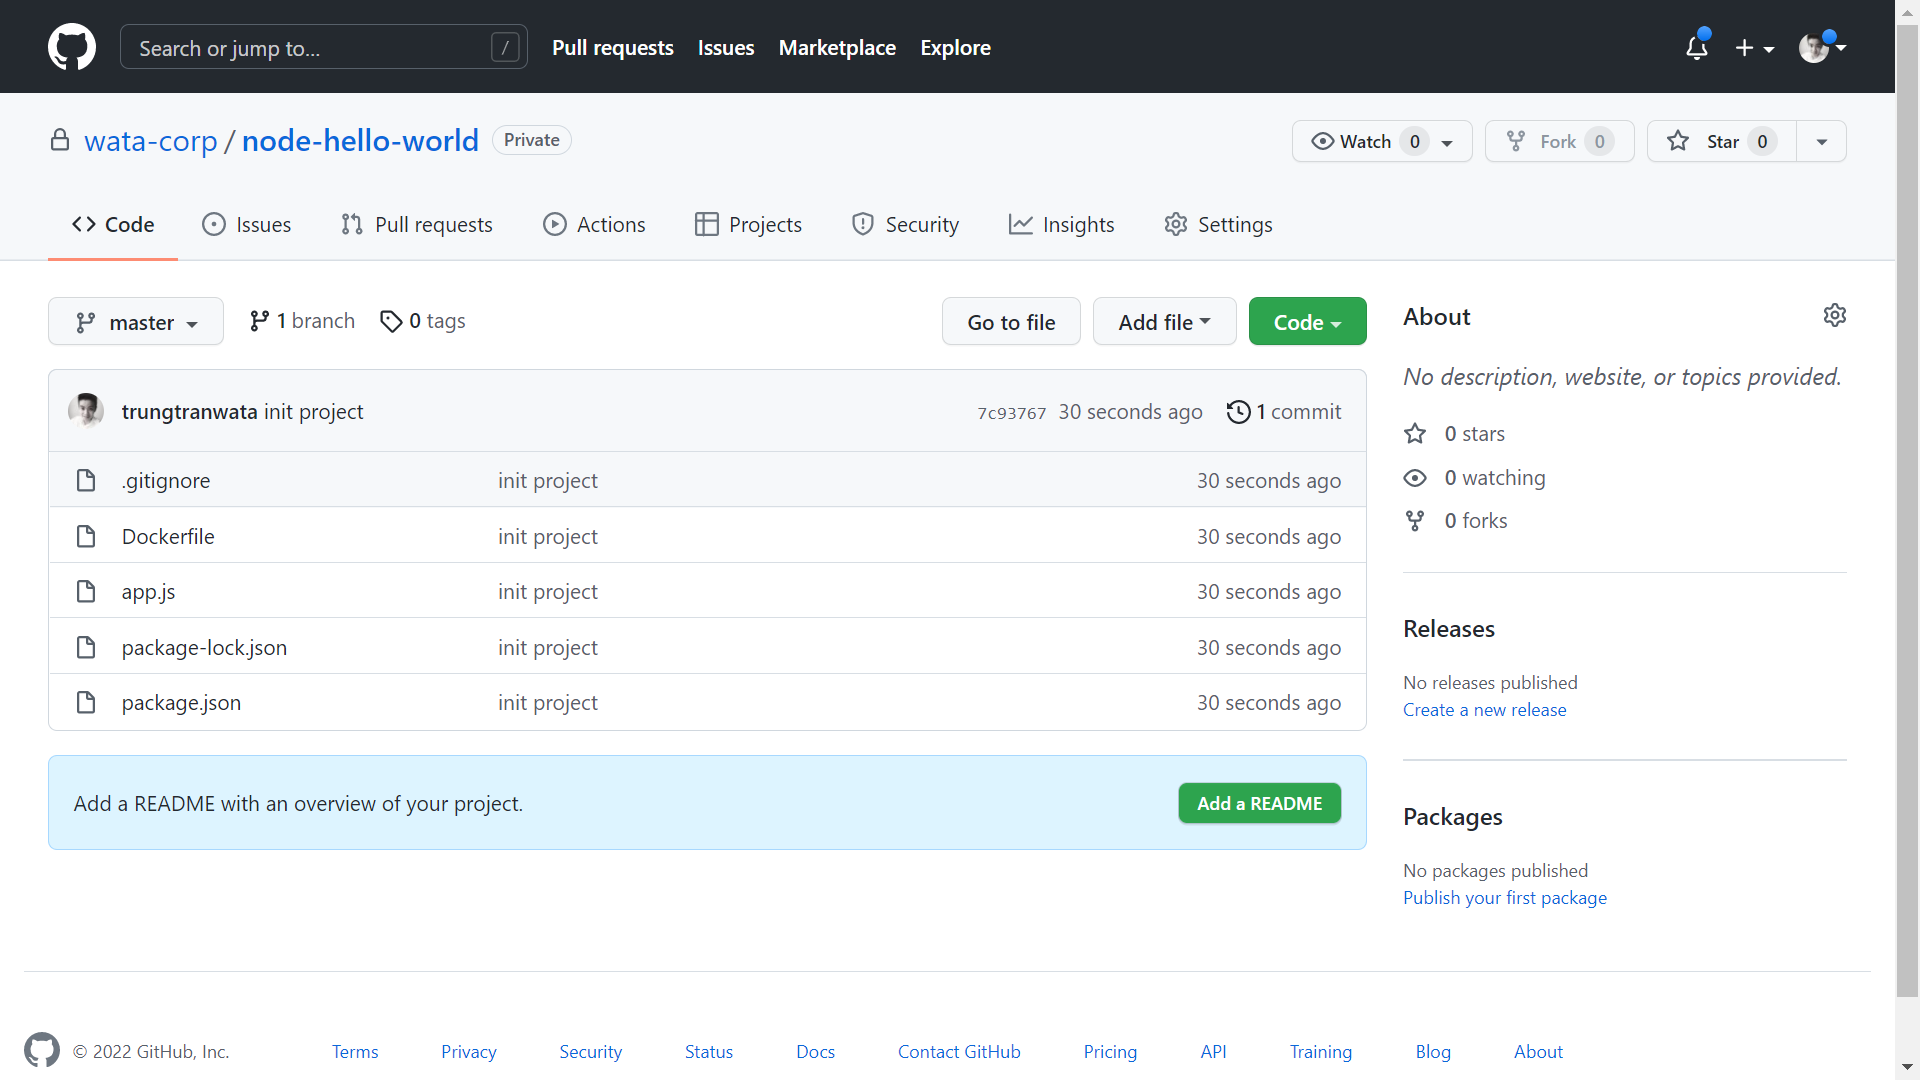
To host our source codes on GitHub, I created a private repository at: https://github.com/wata-corp/node-hello-world and push all the codes so far to the master branch using the below commands:
$ git init
$ git remote add origin git@github.com:wata-corp/node-hello-world.git
$ git add .
$ git commit -m 'init project'
$ git push --set-upstream origin master
3. Push Docker image to GCP Container Artifact
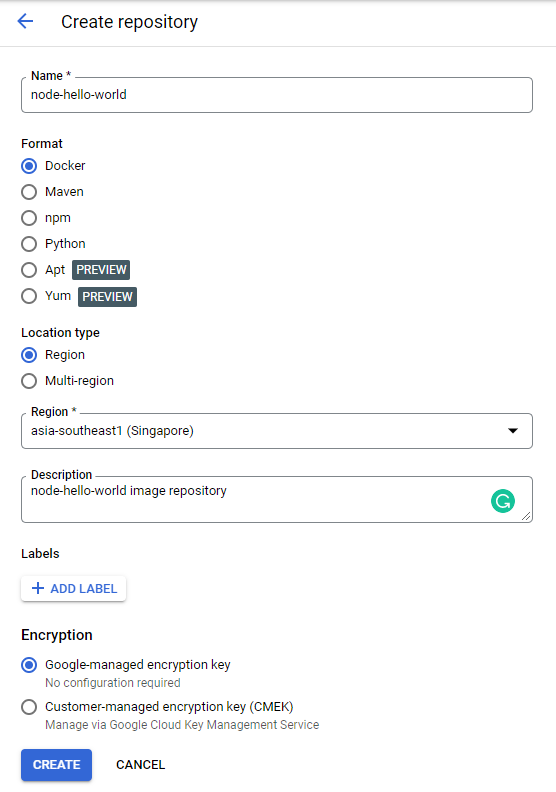
In this demo, we will use the GCP Artifact Registry to store our application docker image, more about the Artifact Registry service can be found here: https://cloud.google.com/artifact-registry
Navigate to Artifact Registry at https://console.cloud.google.com/artifacts and create a new repository (click the "CREATE REPOSITORY" button and fill in as below image).
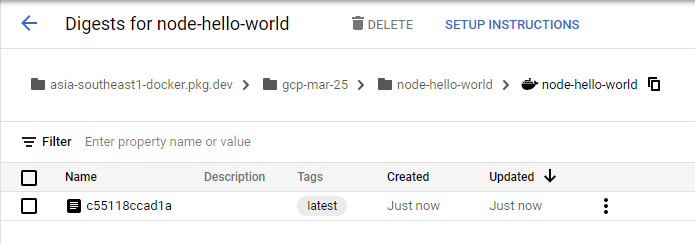
After creating successfully, navigate to the repository detail page and click "SETUP INSTRUCTIONS" to get the auth commands, copy it, and run it on your terminal/console (make sure you have gcloud installed).
gcloud auth configure-docker asia-southeast1-docker.pkg.dev
Tag our docker image follow this syntax: docker tag SOURCE-IMAGE LOCATION-docker.pkg.dev/PROJECT-ID/REPOSITORY/IMAGE
$ docker tag node-hello-world:latest asia-southeast1-docker.pkg.dev/gcp-mar-25/node-hello-world/node-hello-world:latest
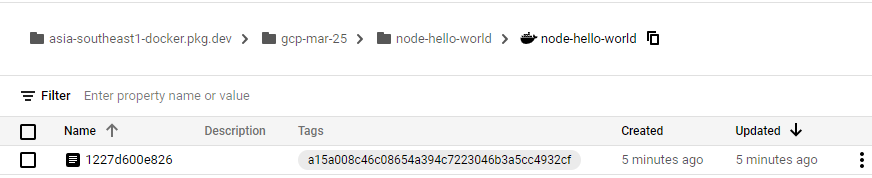
Push our docker image to Artifact Registry follow this syntax: docker push LOCATION-docker.pkg.dev/PROJECT-ID/REPOSITORY/IMAGE
$ docker push asia-southeast1-docker.pkg.dev/gcp-mar-25/node-hello-world/node-hello-world:latest
4. Provision Cloud Run service to run our docker container
There are many options to run containers on GCP such as App Engine (flexible environment) or GKE. To keep the demo simple, we will use Cloud Run (a fully managed service to run the containerized applications on GCP), more detail can be found here: https://cloud.google.com/run.
Navigate to the Cloud Run dashboard at https://console.cloud.google.com/run and create a new service (click the "CREATE SERVICE" button).
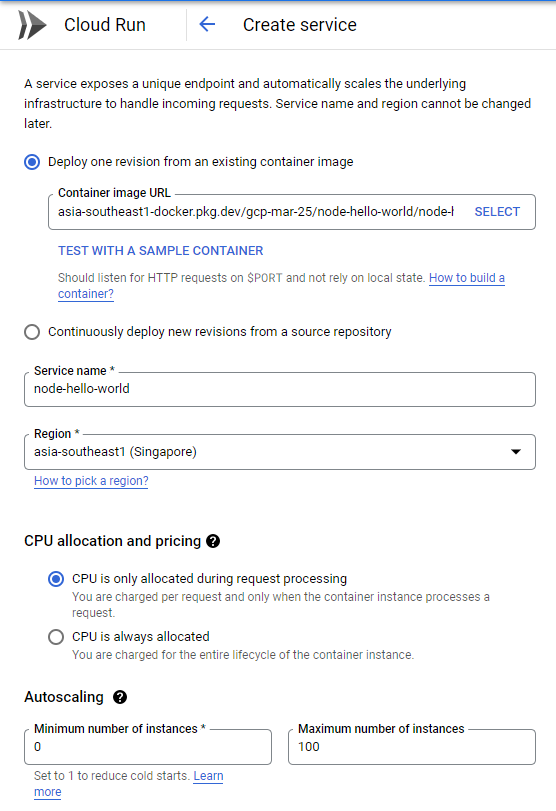
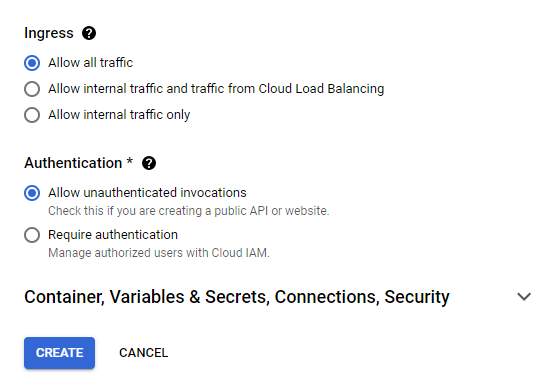
Wait for GCP a few minutes to create our service, after successfully creating, the result will appear as below, we can also verify our application via application URL.
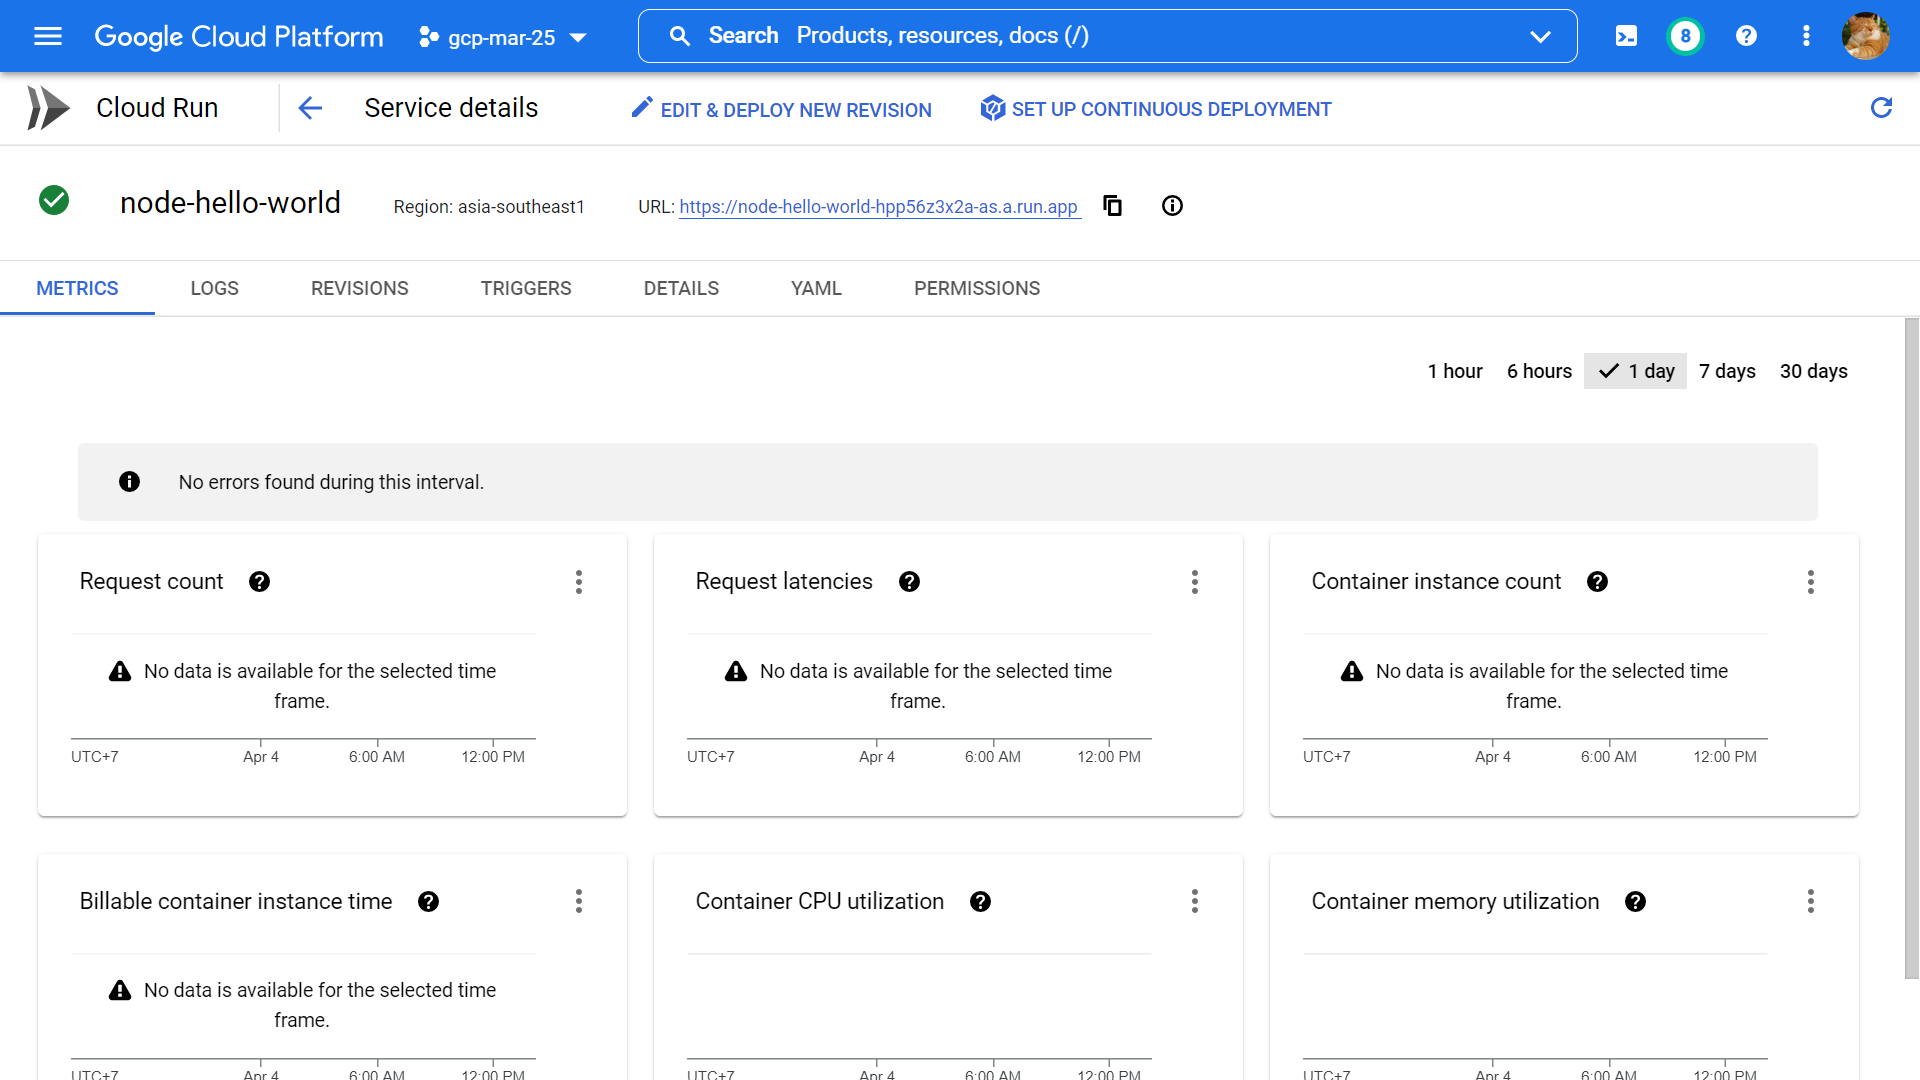
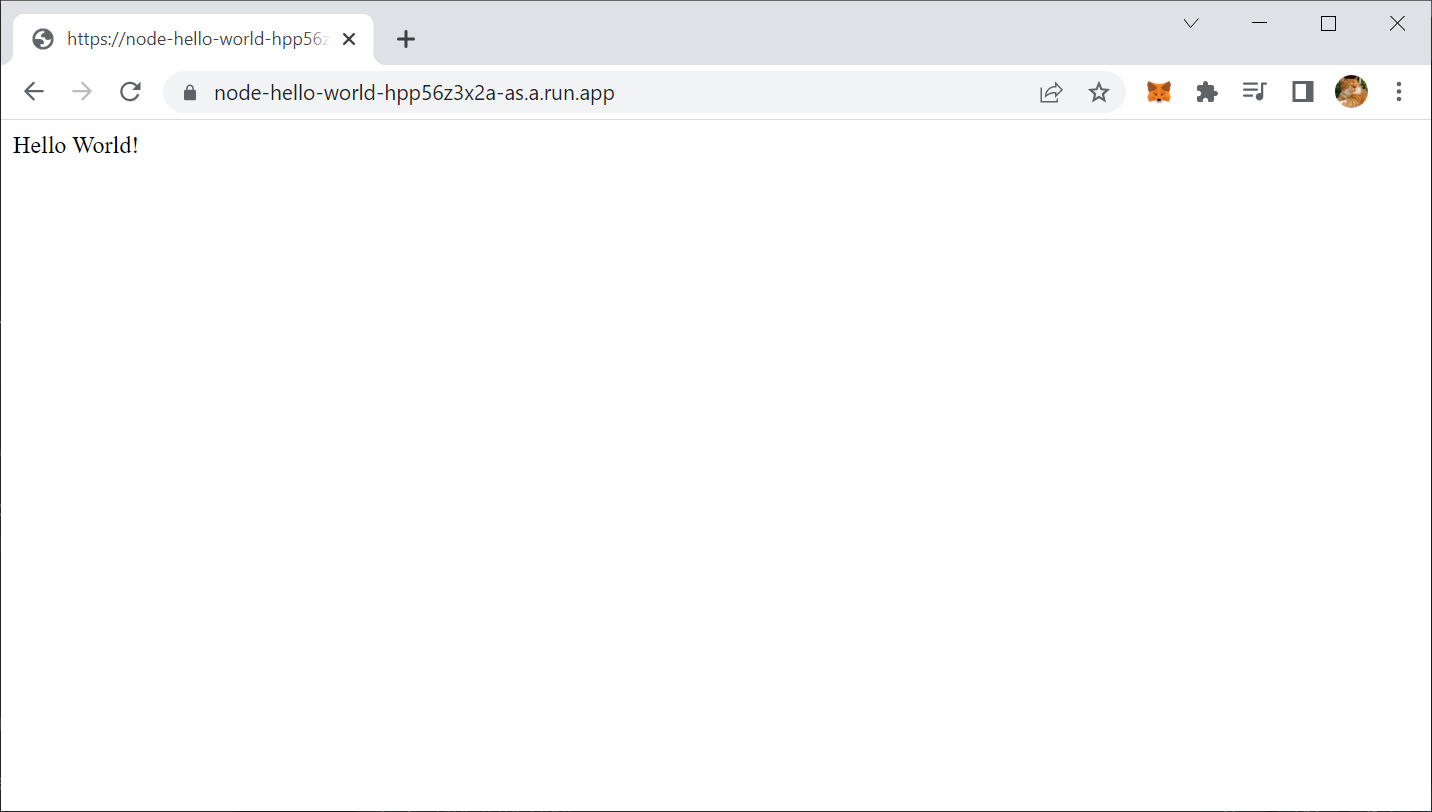
Copy the application URL and try it on your browser, you should be able to see a well-known "Hello World" response message.
5. Setup continuous deployment using GCP Cloud Build
In this final step, we will use Cloud Build (a serverless CI/CD platform from GCP), to implement continuous deployment for our application.
Our targets are: whenever new changes are pushed to the master branch on GitHub, Cloud Build will be triggered, it will build a new docker image to reflect the changes, push to Artifact Registry and deploy this new version to Cloud Run service.
Navigate to the Cloud Build trigger dashboard and create a new trigger (https://console.cloud.google.com/cloud-build/triggers).
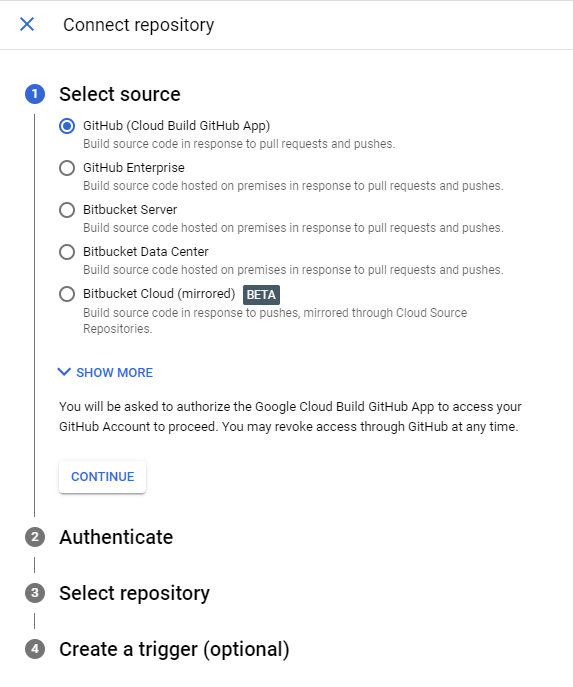
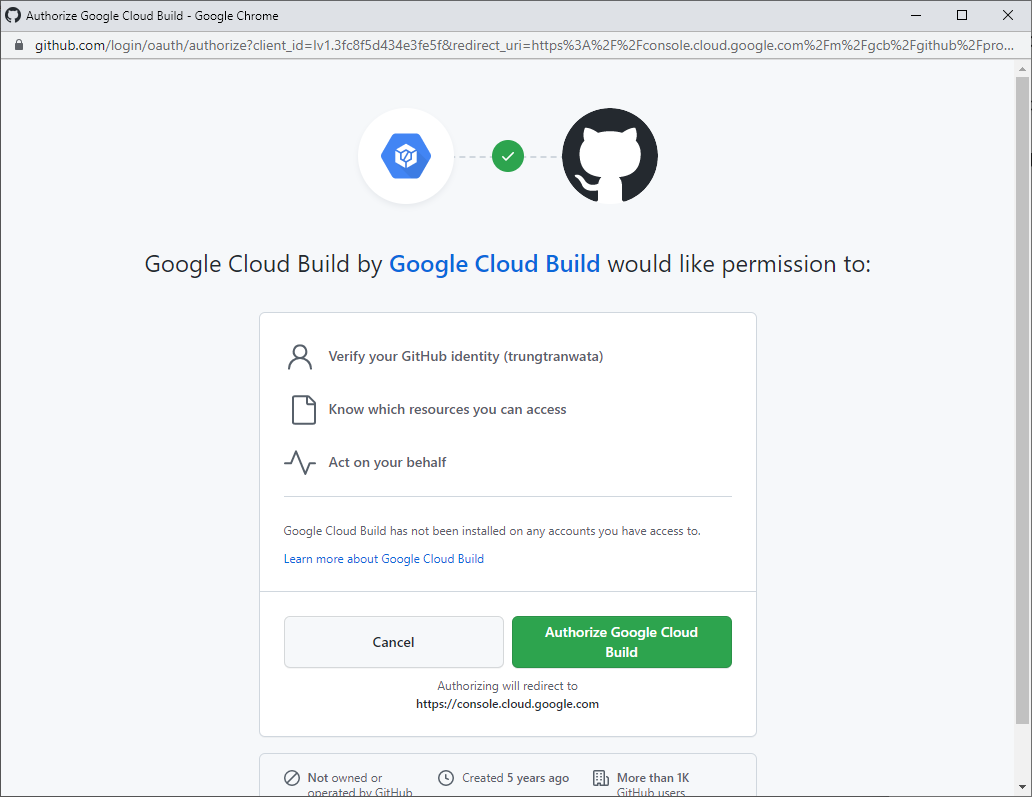
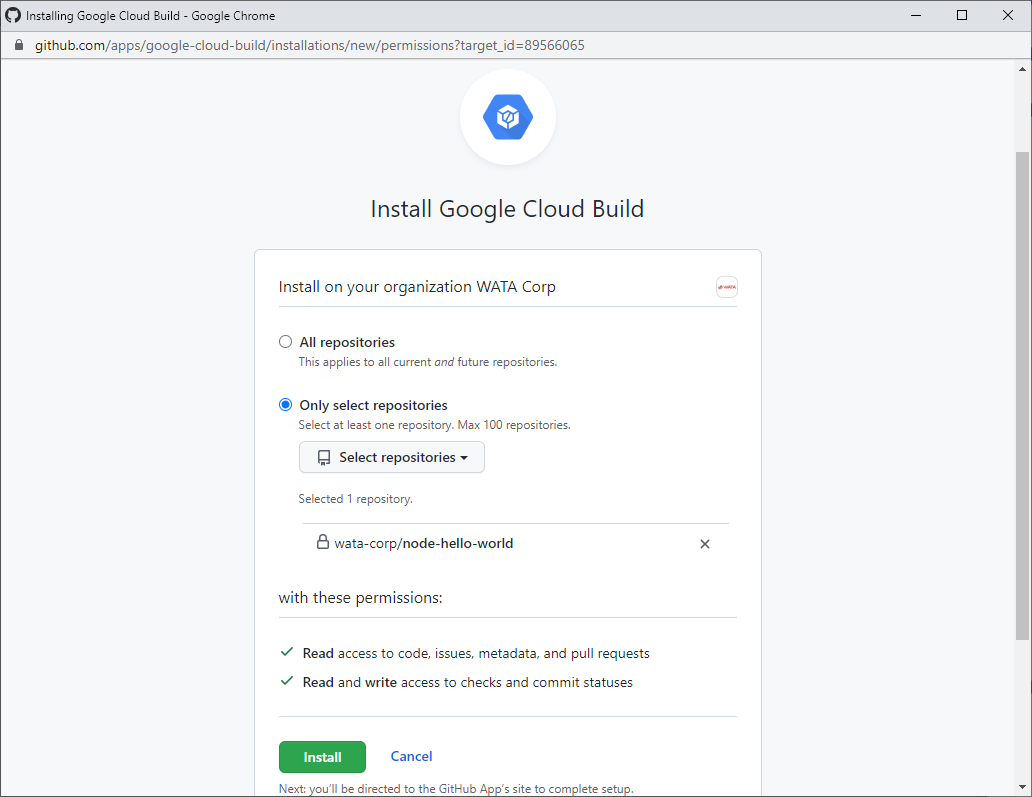
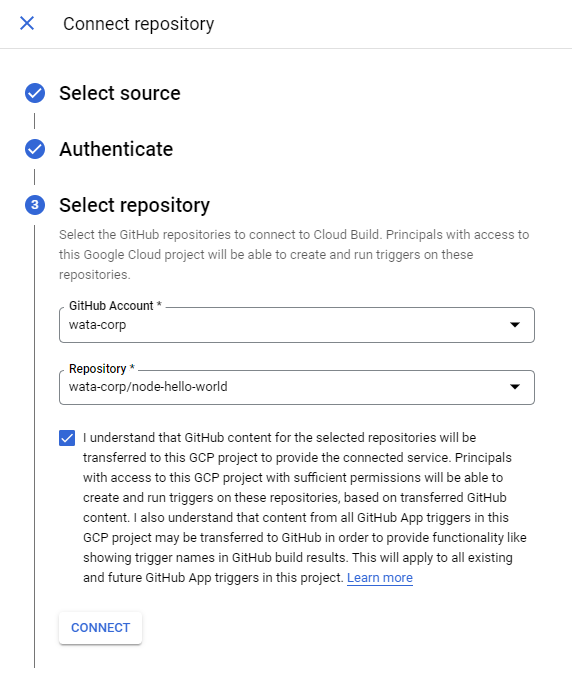
First, we need to connect Cloud Build with our repository on GitHub, from the trigger dashboard click "Connect Repository" to start the processes.
Next, we will create a trigger to implement our continuous deployment strategy.
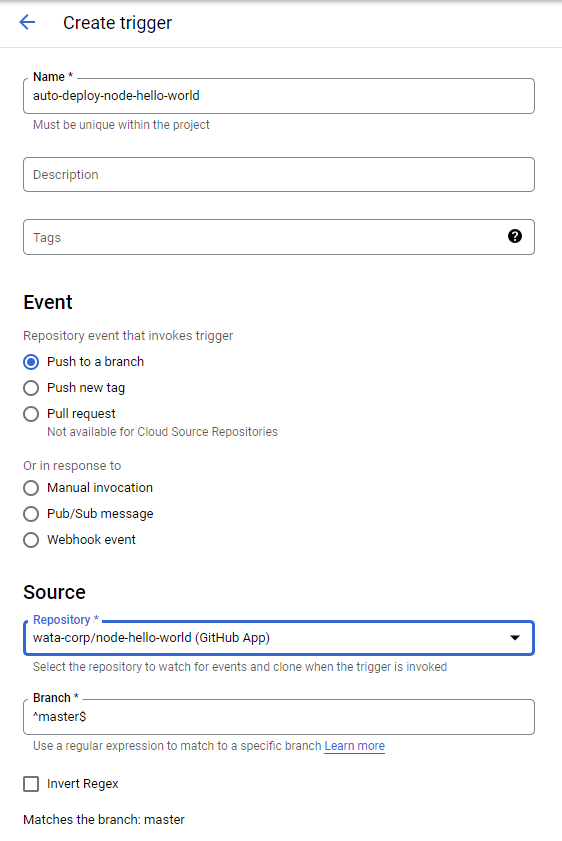
We will use an inline YAML file to define how our trigger runs, you don't need to remember this complex syntax, GCP has an official document which we can refer from: https://cloud.google.com/build/docs/deploying-builds/deploy-cloud-run.
steps:
  - name: gcr.io/cloud-builders/docker
    args:
      - build
      - '-t'
      - '${_LOCATION}-docker.pkg.dev/$PROJECT_ID/${_REPOSITORY}/${_IMAGE}:$COMMIT_SHA'
      - .
  - name: gcr.io/cloud-builders/docker
    args:
      - push
      - '${_LOCATION}-docker.pkg.dev/$PROJECT_ID/${_REPOSITORY}/${_IMAGE}:$COMMIT_SHA'
  - name: gcr.io/google.com/cloudsdktool/cloud-sdk
    args:
      - run
      - deploy
      - $_SERVICE_NAME
      - '--image'
      - '${_LOCATION}-docker.pkg.dev/$PROJECT_ID/${_REPOSITORY}/${_IMAGE}:$COMMIT_SHA'
      - '--region'
      - $_REGION
    entrypoint: gcloud
images:
  - '${_LOCATION}-docker.pkg.dev/$PROJECT_ID/${_REPOSITORY}/${_IMAGE}:$COMMIT_SHA'
options:
  logging: NONE
In the YAML file, we used 5 variables which are _SERVICE_NAME (name of cloud run service) and _REGION (where your cloud run service runs), _IMAGE (name of docker image), _LOCATION (where's your artifact registry), _REPOSITORY (name of artifact registry repository). _LOCATION & _REGION may look duplicated but they are target different objects (artifact repo & cloud run service).
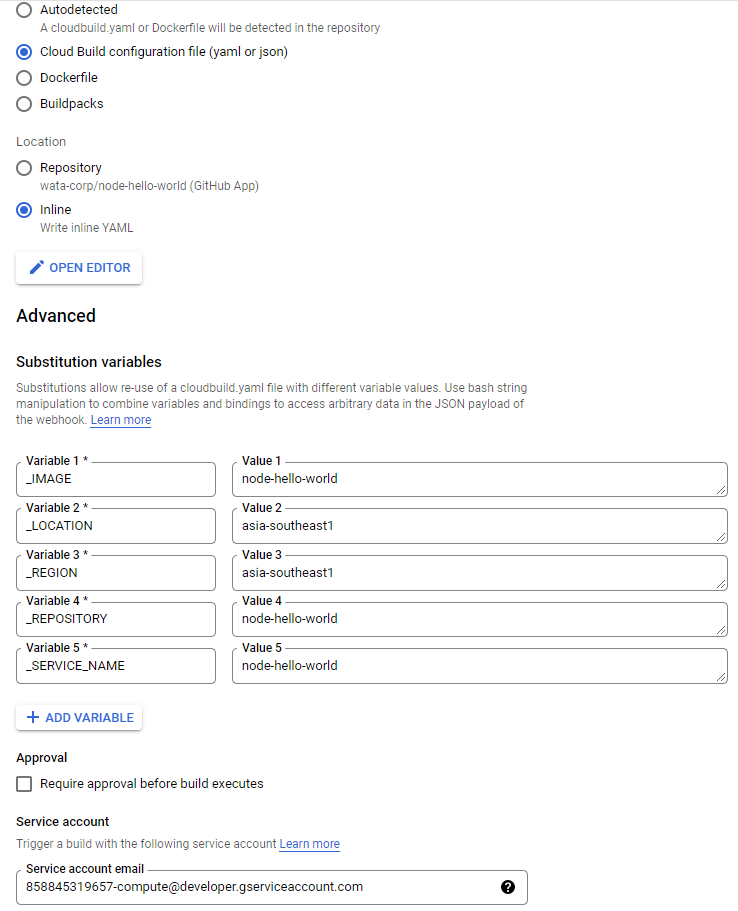
We need to do 2 things:
- Click Open Editor and paste the content of the above YAML to the editor, then save.
- Add 5 variables like the above image (_IMAGE, _LOCATION, _REPOSITORY, _SERVICE_NAME & _REGION).
Then click Create button to create the trigger and observe the result. After the trigger is created successfully, go to your code and change the message from "Hello World" to "Hello World Version 02" and push the change to the master branch (it is OK with the demo, but in the real scenario, we should go through the pull request and code review process for any changes).
If your cloud build agent faced the permission issue while deploying the new version to the Cloud Run service, go to the IAM dashboard, look for @cloudbuild.gserviceaccount.com (auto-generated by GCP), and grant appropriate permission.
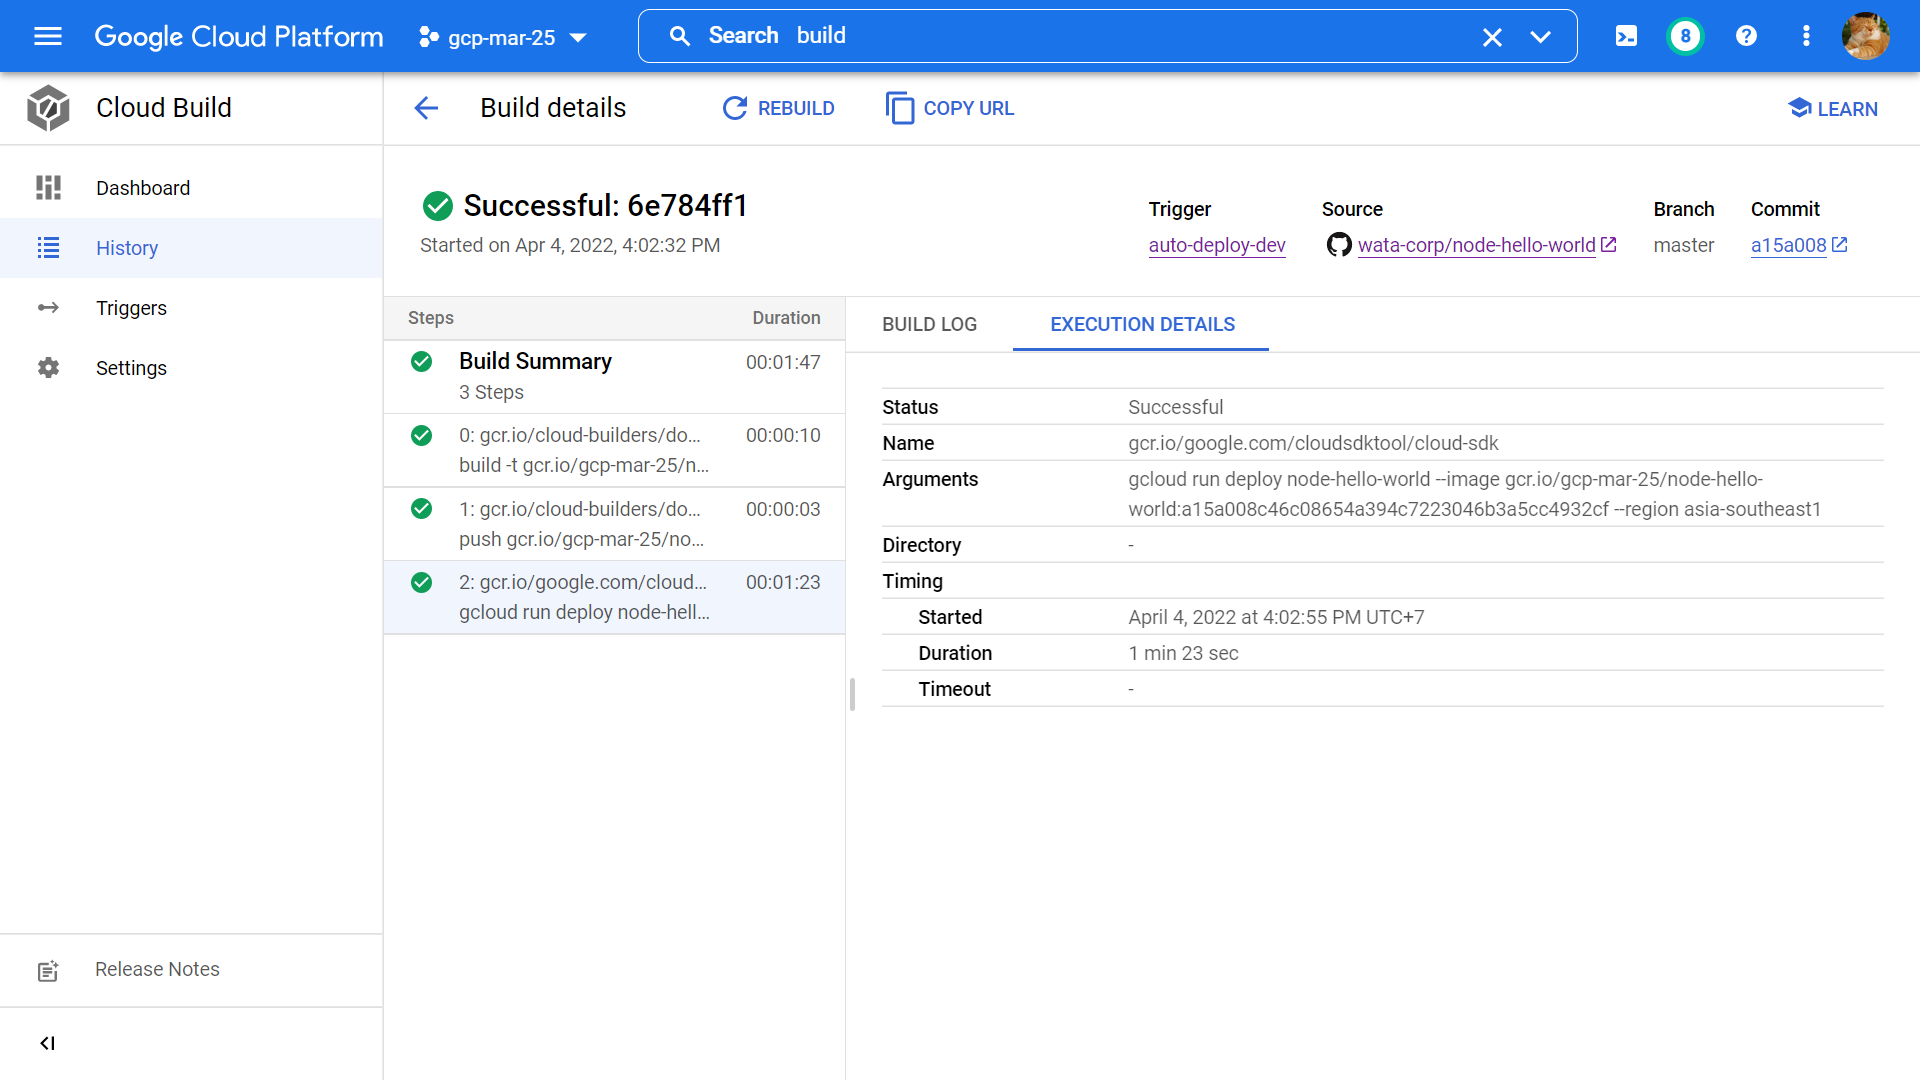
Go to the Cloud Run service URL again and verify the changes, it should now return a new response as "Hello World Version 02".
Conclusions
In this post, we become familiar with the following services in GCP: Cloud Build, Cloud Run, and Artifact Registry.
We went through 5 steps to create a node.js application, dockerize it and push it to the GitHub repository, then push it to Artifact Registry, host it with Cloud Run, and finally set up continuous deployment with Cloud Build.
What a long journey, hope you enjoy it and learn helpful knowledge, see you in the next post!