Continuous deployment of Vue.js web app with GitHub Actions and AWS App Runner
 Trung Tran
In the previous post, we get used to CI/CD in the Google Cloud Platform with Cloud Build & Cloud Run. This time, let's try GitHub Actions & AWS App Runner to automate your workflow from idea to production.
Pre-requisites
- A GitHub account.
- An AWS IAM account with proper permissions.
- Basic knowledge of AWS Console, Git, Docker, and YAML.
1. Start with a basic Vue.js repository
To keep the demo simple, I will not go into detail about Vue.js (The Progressive
JavaScript Framework). Rather than that, let's find a popular Vue.js repo and start from there.
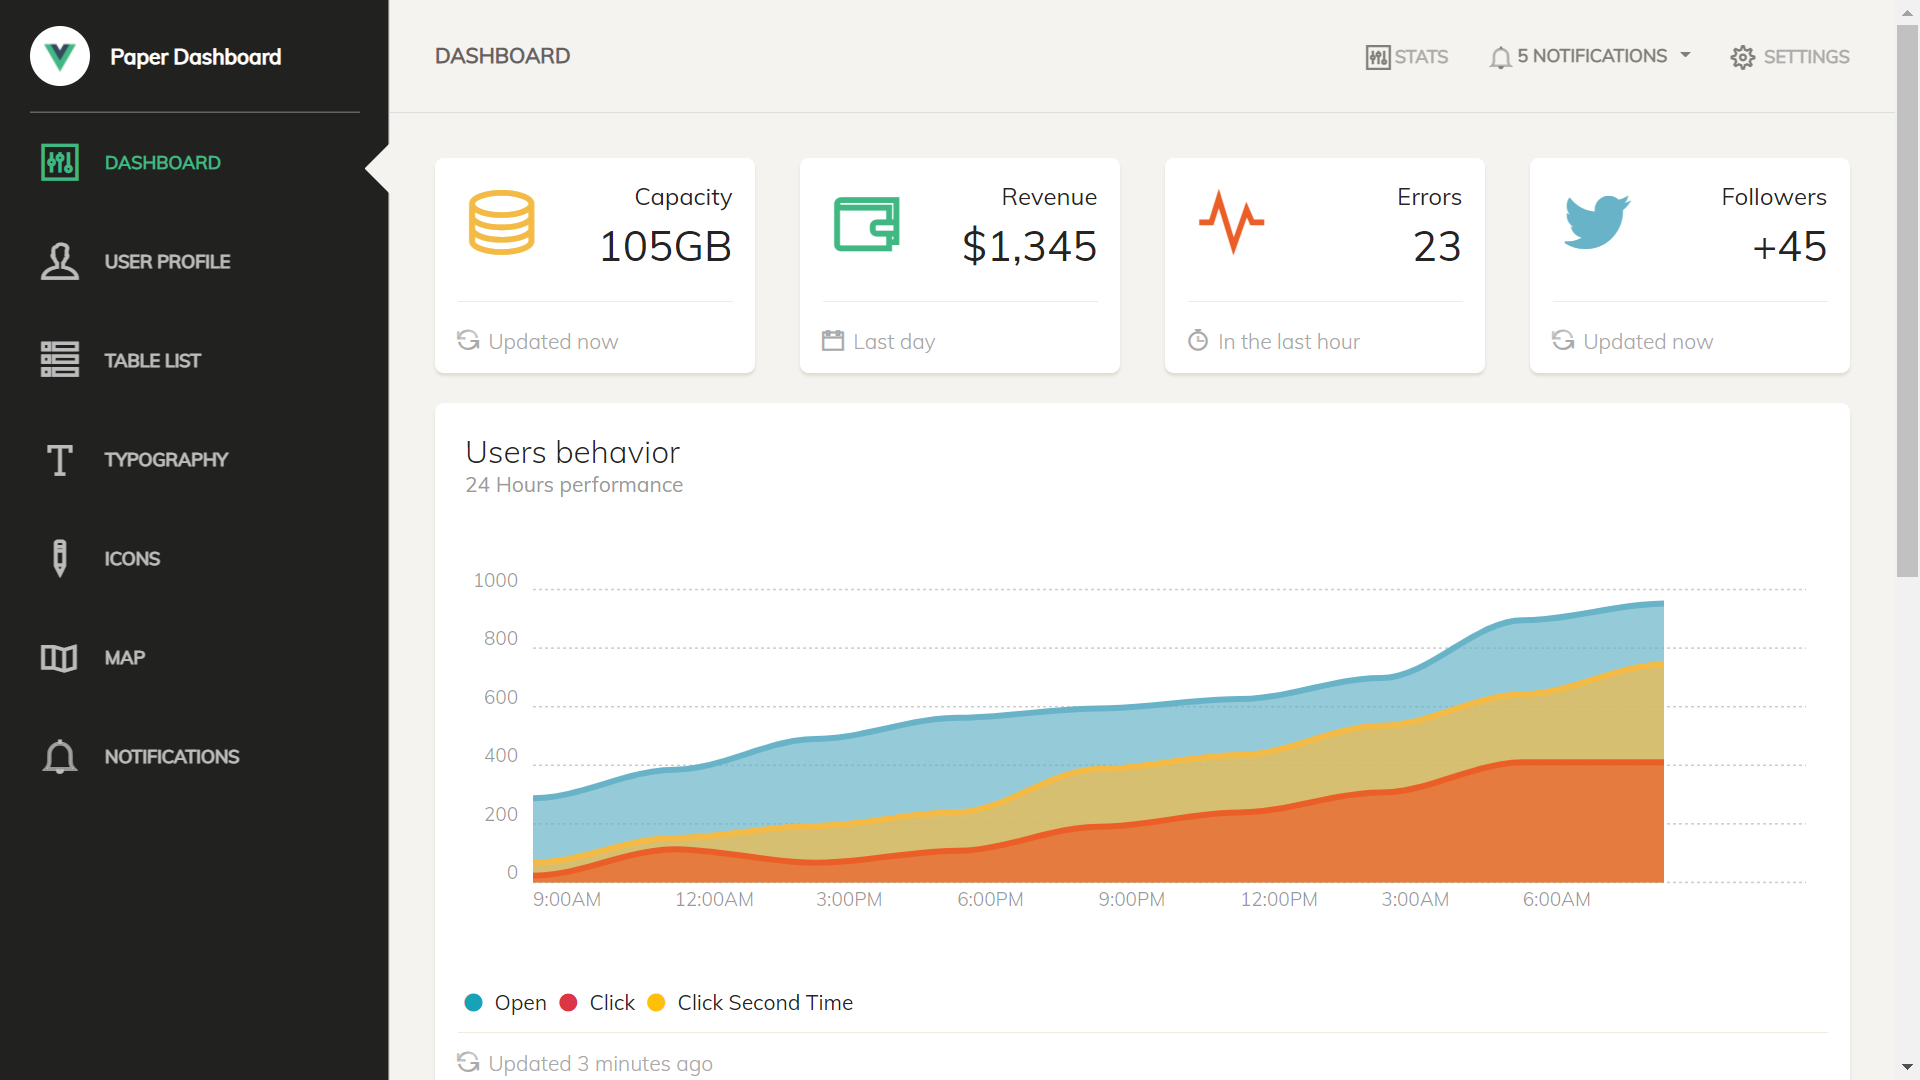
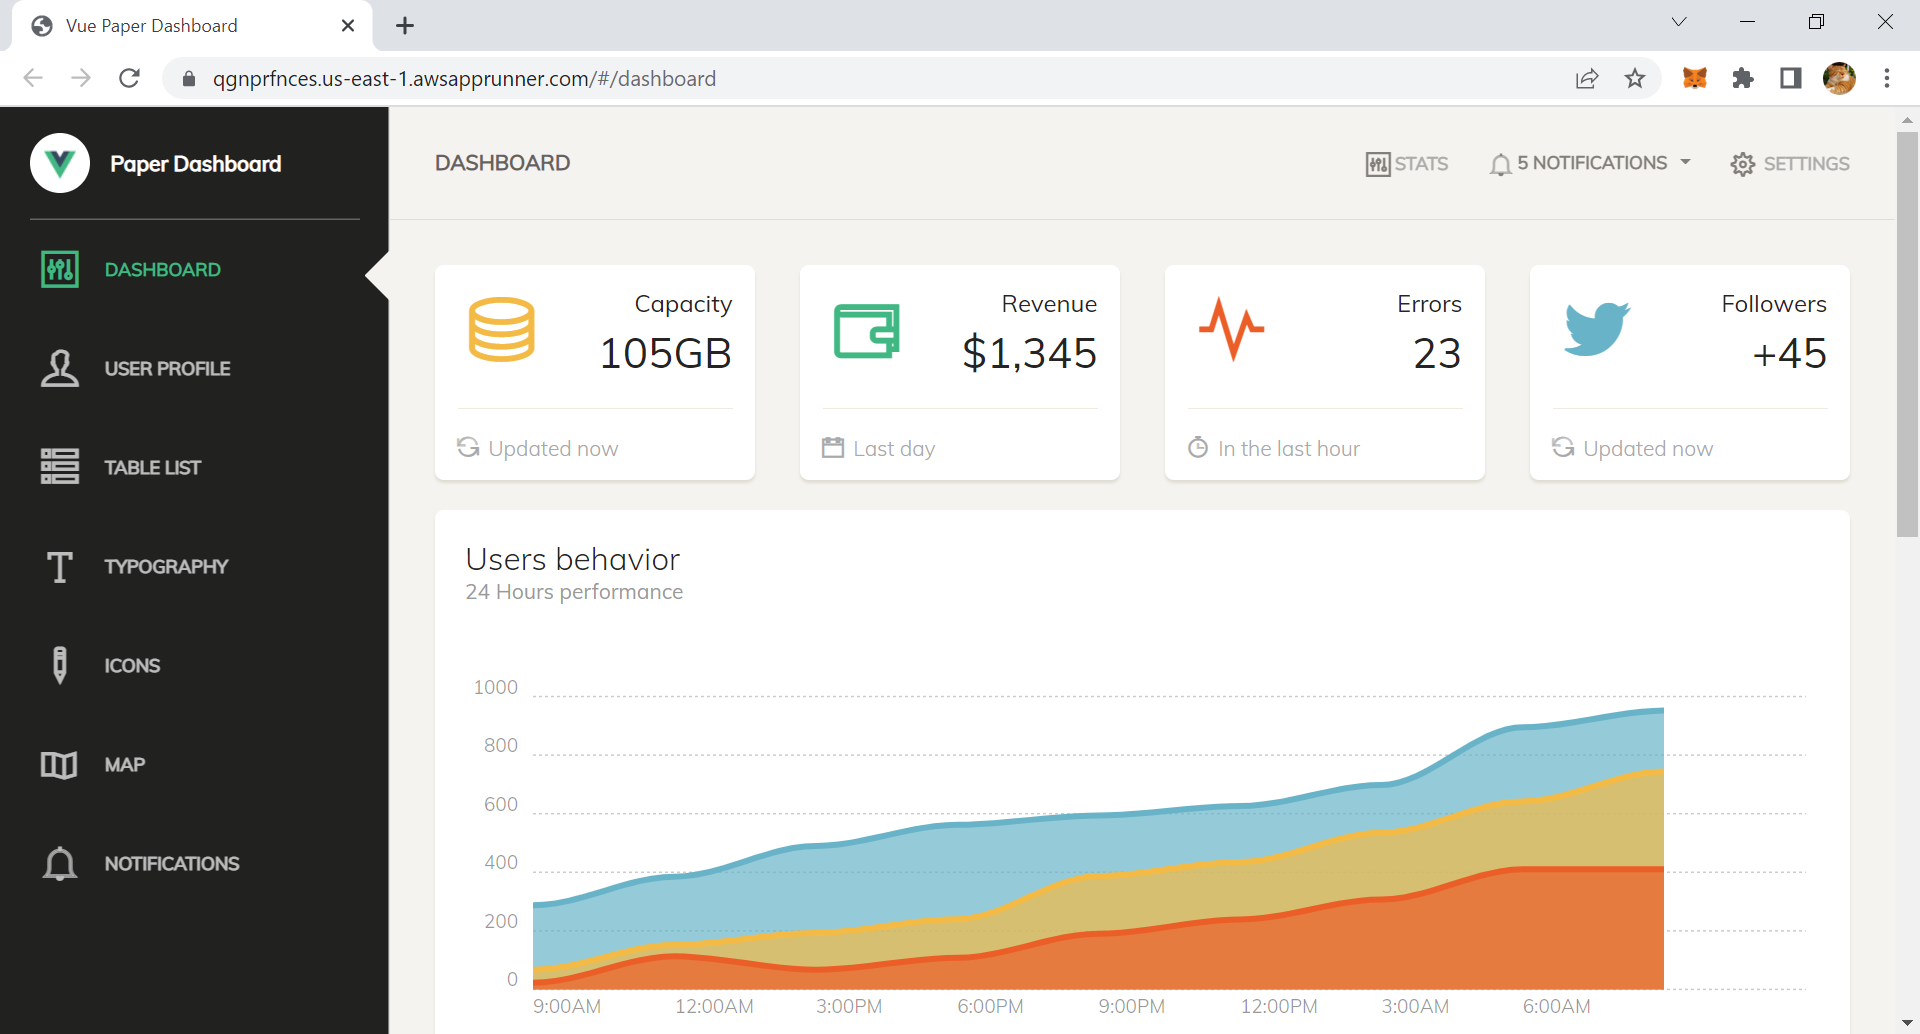
I used the "Vue Paper Dashboard", which can be found here: https://github.com/creativetimofficial/vue-paper-dashboard, let's clone this repo and start locally first, after running the below commands, you should be able to see the dashboard UI as image.
$ git clone git@github.com:creativetimofficial/vue-paper-dashboard.git
$ cd vue-paper-dashboard/
$ npm install
$ npm run dev

App running at:
- Local:   http://localhost:8080/
- Network: http://192.168.100.80:8080/
As the repository doesn't come with native Docker support, we need to quickly add a Docker file for this repository, so that we can run it on AWS infrastructure as containerized application. Let's create a Dockerfile in the root directory of the project (same place as the package.json file), and populate the below contents.
# build stage
FROM node:fermium-alpine3.14 as build-stage
WORKDIR /app
COPY package*.json ./
RUN npm install
COPY . .
RUN npm run build

# production stage
FROM nginx:stable-alpine as production-stage
COPY --from=build-stage /app/dist /usr/share/nginx/html
EXPOSE 80
CMD ["nginx", "-g", "daemon off;"]
The base image will be nginx:stable-alpine and application listening on port 80, for step-by-step dockerize guidelines, please refer official document from Vue.js here: https://v2.vuejs.org/v2/cookbook/dockerize-vuejs-app.html?redirect=true.
$ docker build -t vue-paper-dashboard .
$ docker run -dt --name vue-paper-dashboard -p 8080:80 vue-paper-dashboard:latest
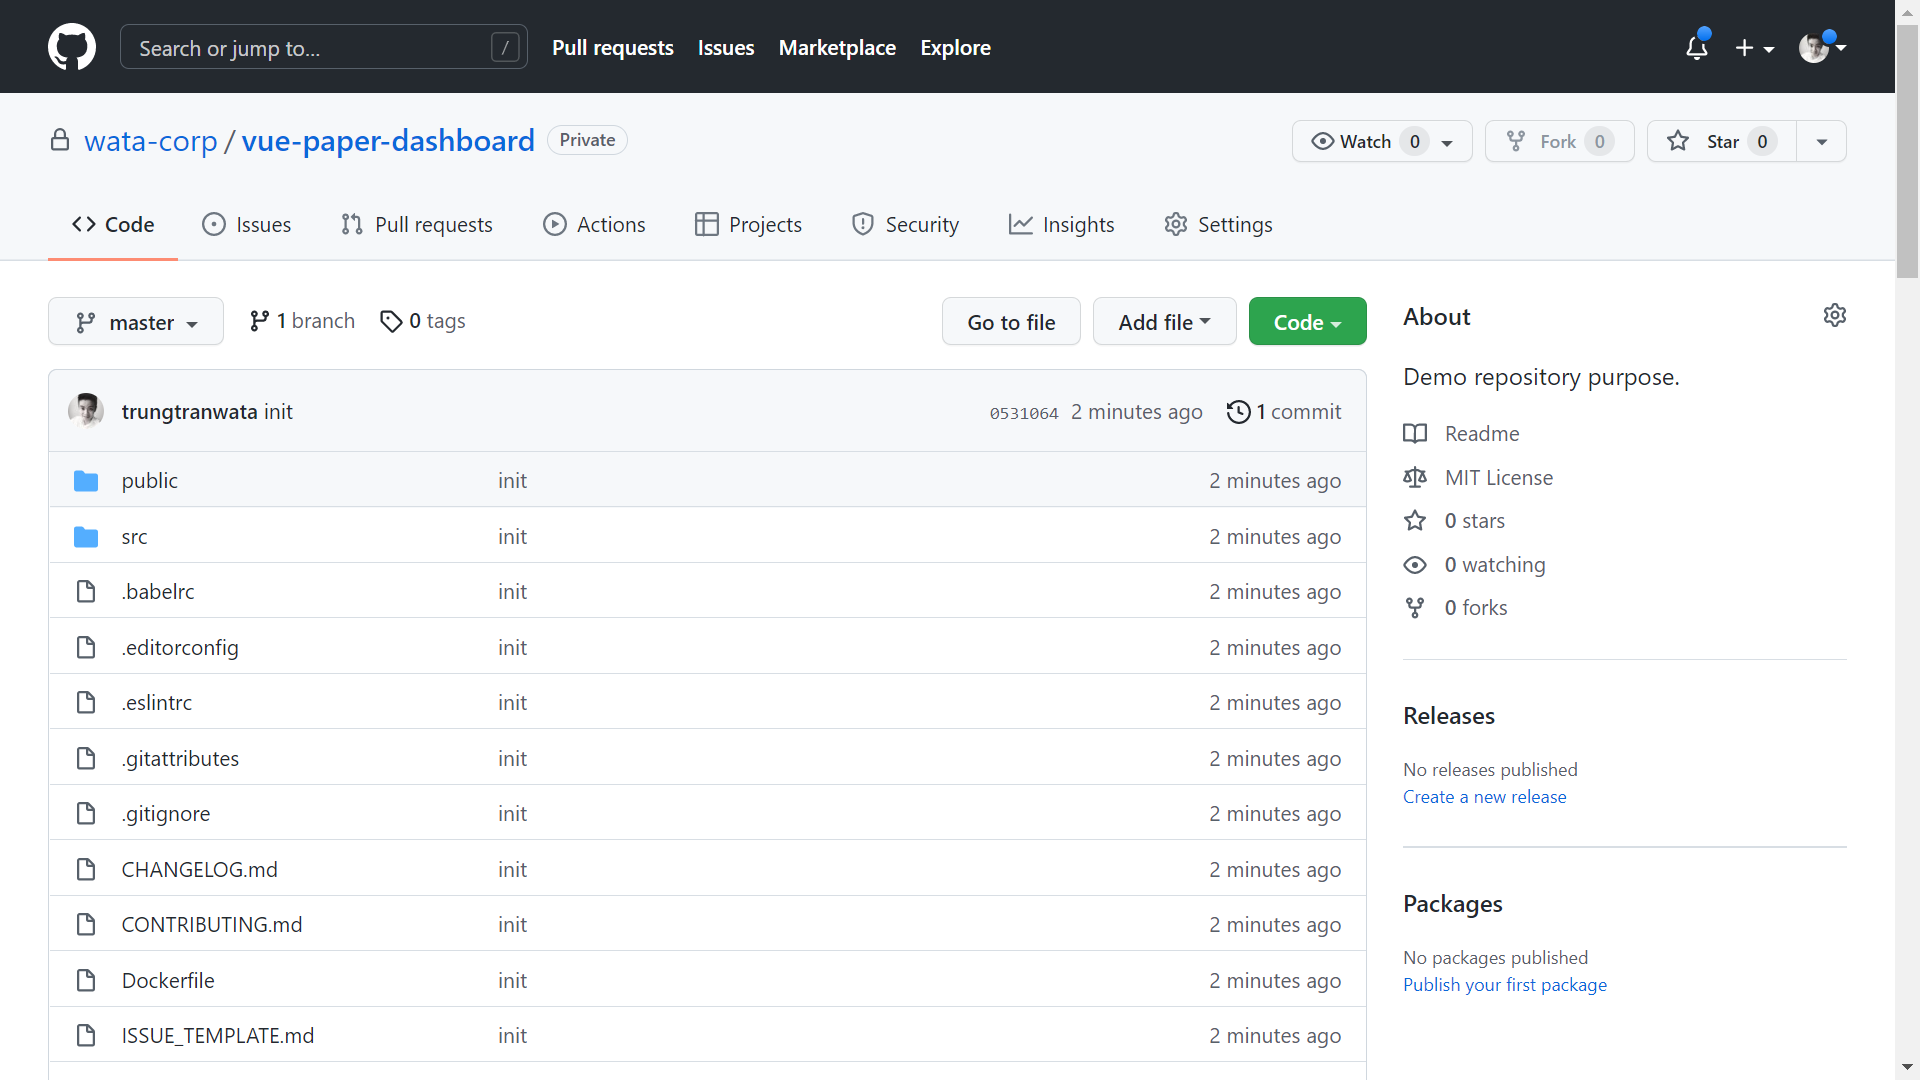
After running the application container successfully, you should be able to access the dashboard via the same address as the "npm run dev" command. Next, let's push the whole source code to our GitHub repository.
Remove existing .github folder
$ rm -r .github
$ git init
$ git remote add origin git@github.com:wata-corp/vue-paper-dashboard.git
$ git add .
$ git commit -m 'init'
$ git push --set-upstream origin master
Branch 'master' set up to track remote branch 'master' from 'origin'.
2. Provisioning AWS resources
We will use GitHub Actions to continuously deploy our Vue.js application to AWS, so we need to create an IAM account and a user-managed role on AWS, this will be used in the next steps.
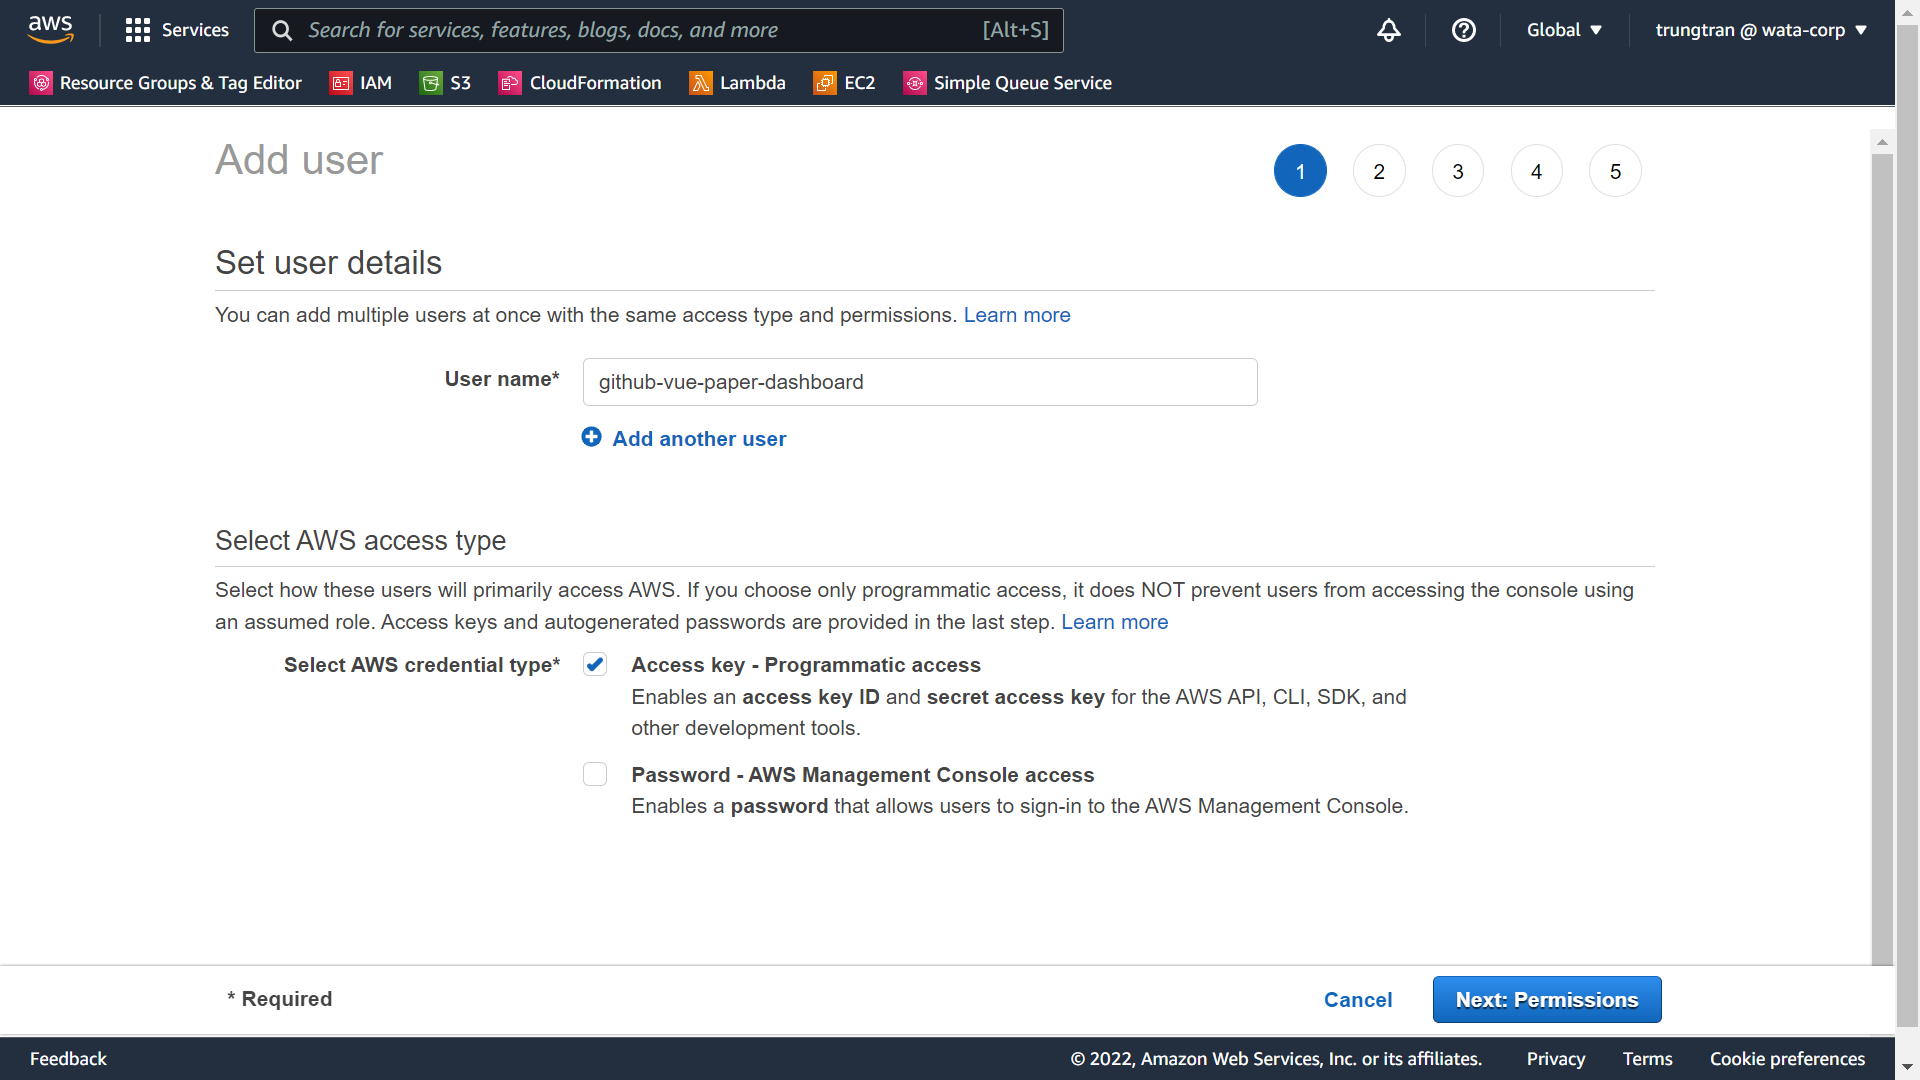
Create an IAM account (will be used by GitHub Actions agents):
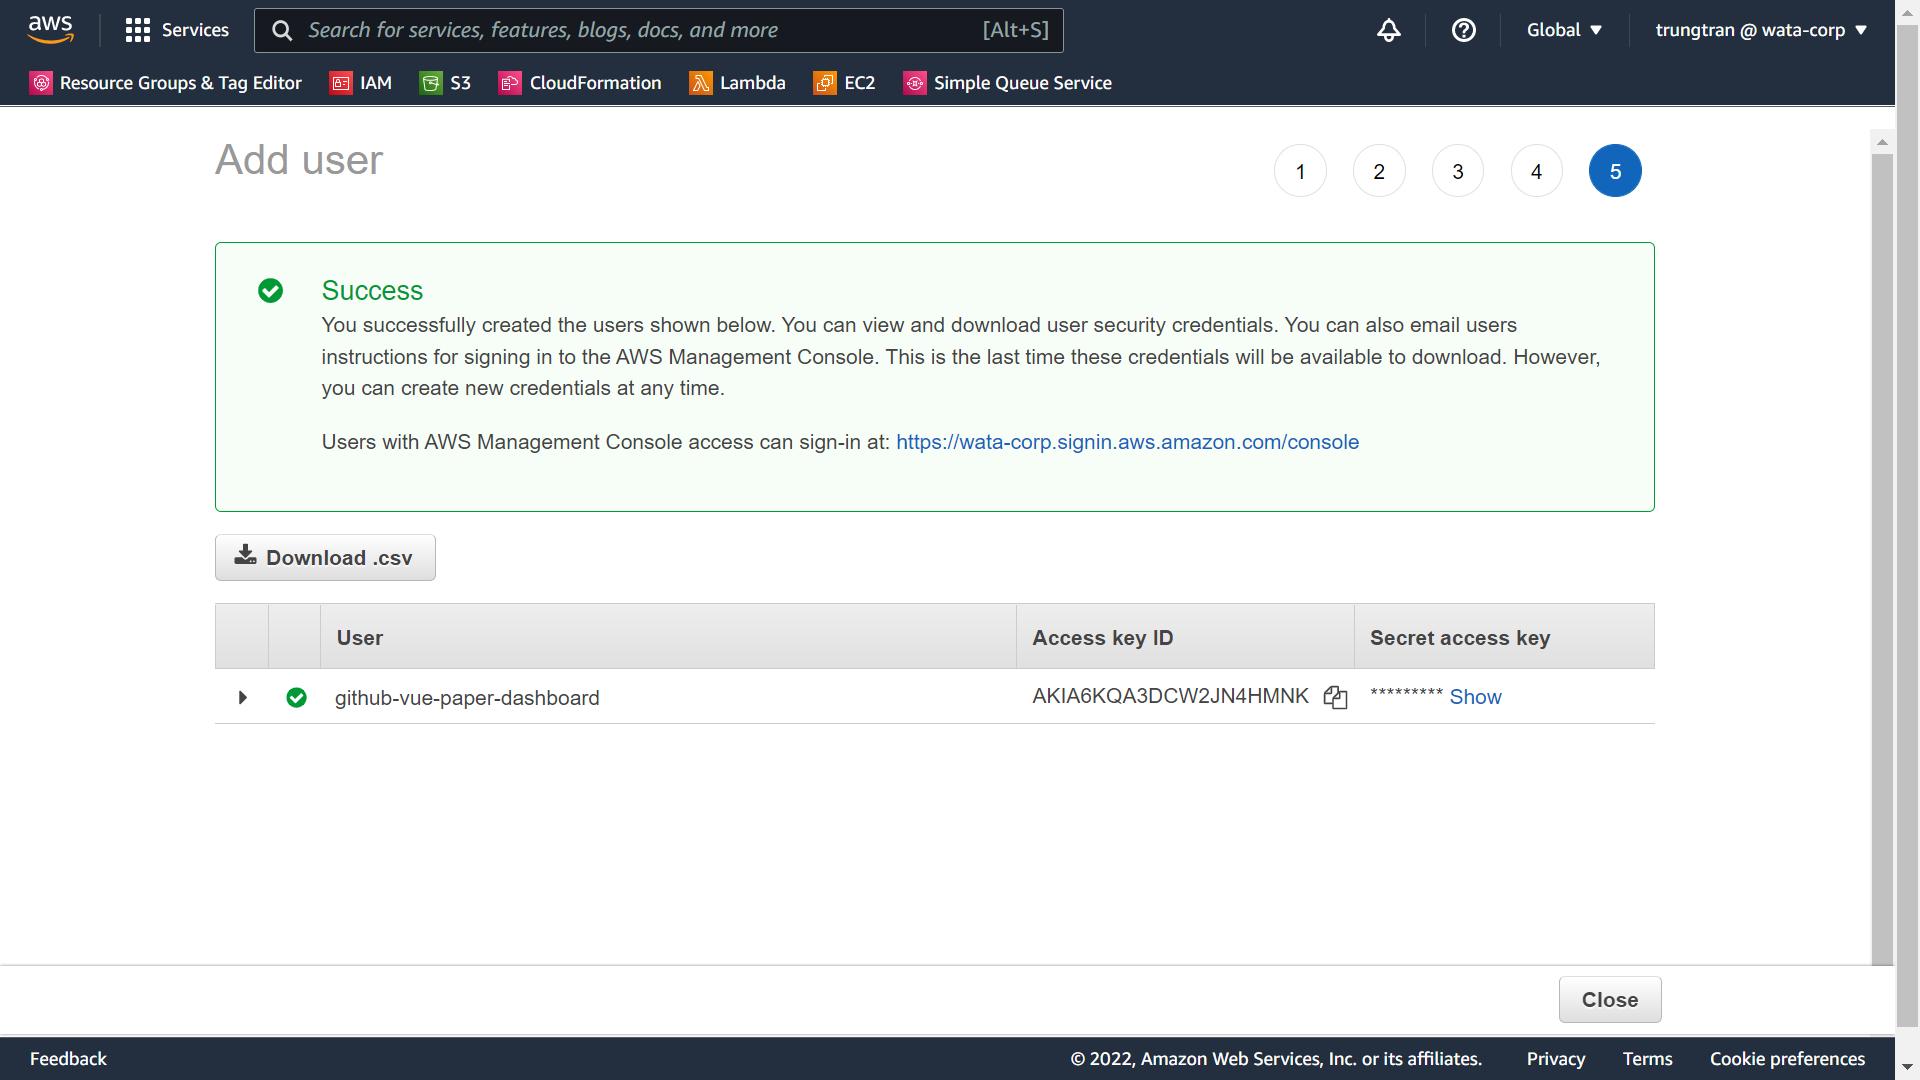
Access the IAM console at https://us-east-1.console.aws.amazon.com/iamv2/home#/home, and create a new IAM account, remember to download the credential and save it somewhere, we will need to use it soon.
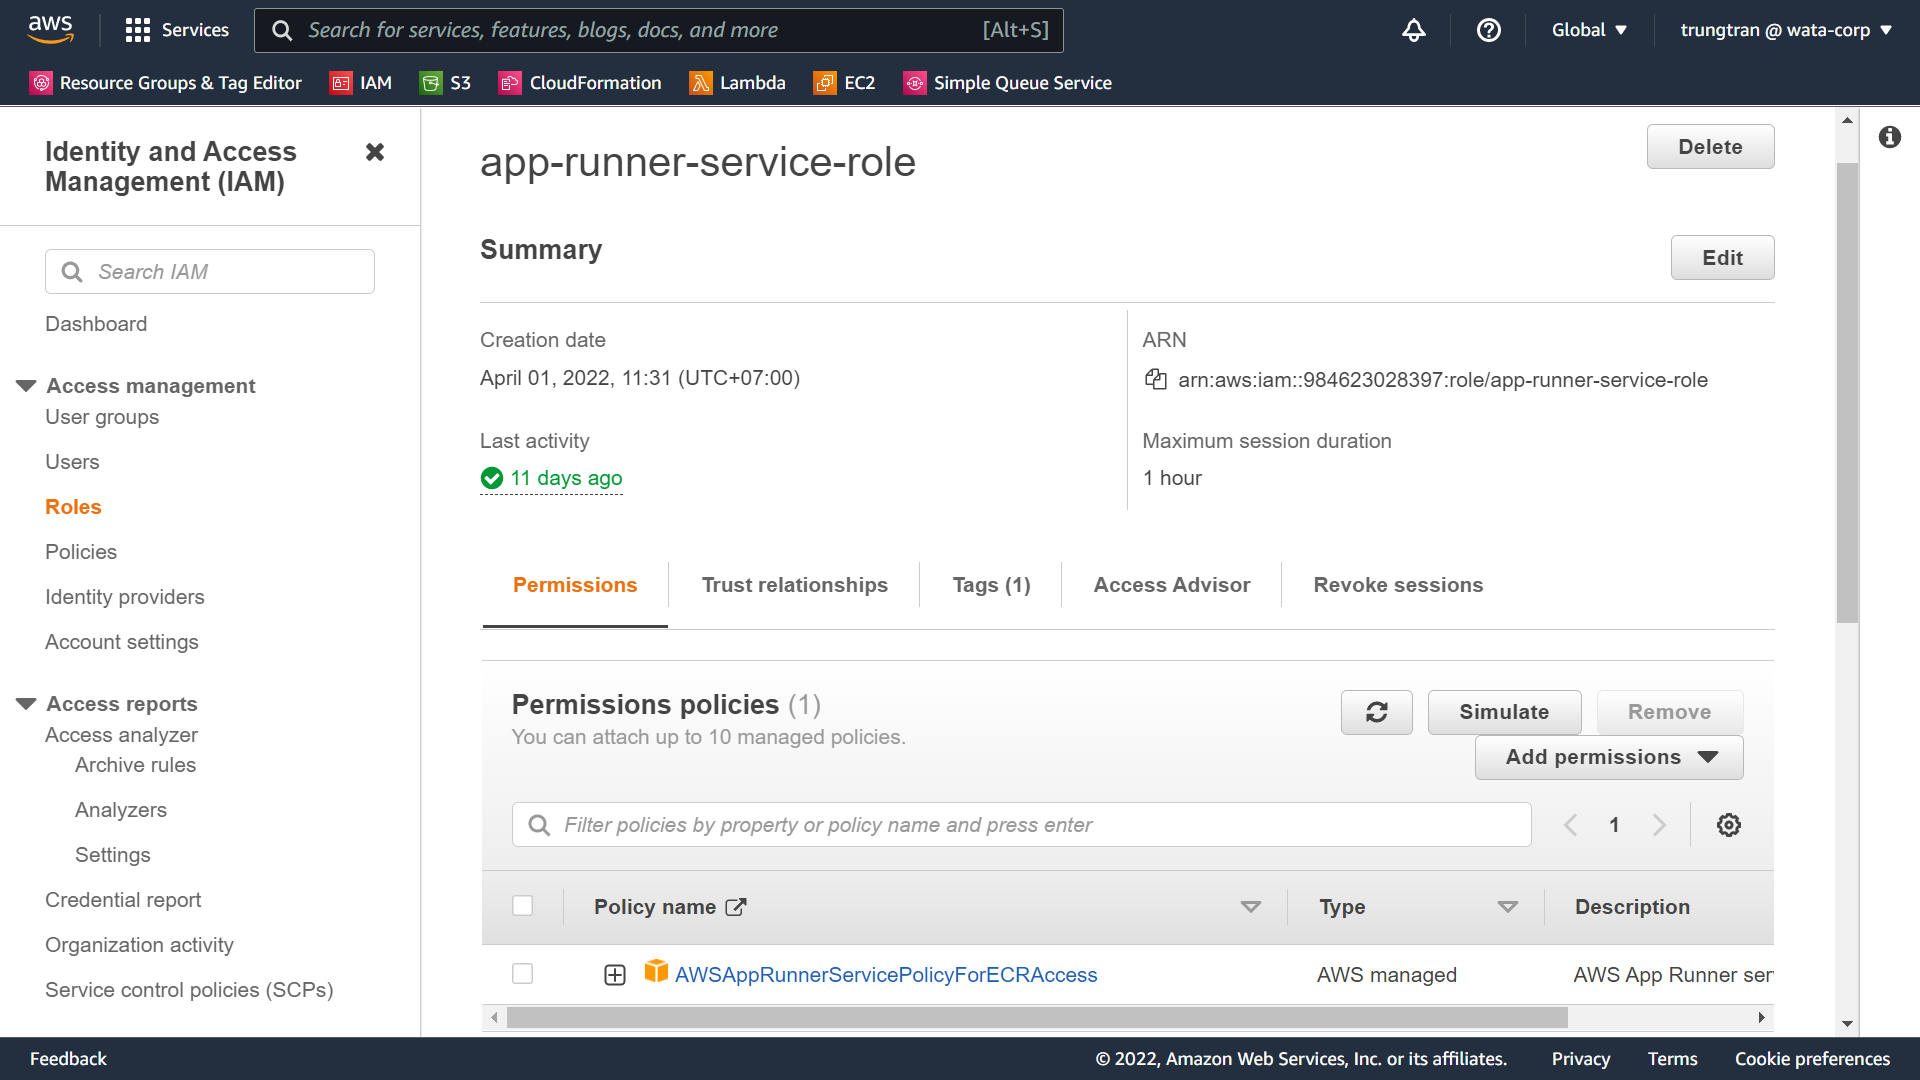
Create a new role named "app-runner-service-role" and attach the "AWSAppRunnerServicePolicyForECRAccess" policy, this will be used by AWS App Runner services to access ECR (where we managed our Docker image). Please note down the ARN of the newly created role, we will need this in the next step (though you will be different).
To create the service role, click Create role button, select the Custom trusted policy option, and enter below JSON:
{
    "Version": "2012-10-17",
    "Statement": [
        {
            "Effect": "Allow",
            "Principal": {
                "Service": "build.apprunner.amazonaws.com"
            },
            "Action": "sts:AssumeRole"
        }
    ]
}
arn:aws:iam::984623028397:role/app-runner-service-role
Navigate to the github-vue-paper-dashboard IAM permission and attach the below inline policy, this will grant permission to GitHub Actions (via IAM role) to work with ECR and App Runner.
{
    "Version": "2012-10-17",
    "Statement": [
        {
            "Sid": "VisualEditor0",
            "Effect": "Allow",
            "Action": "apprunner:*",
            "Resource": "*"
        },
        {
            "Sid": "VisualEditor1",
            "Effect": "Allow",
            "Action": [
                "iam:PassRole",
                "iam:CreateServiceLinkedRole"
            ],
            "Resource": "*"
        },
        {
            "Sid": "VisualEditor2",
            "Effect": "Allow",
            "Action": "sts:AssumeRole",
            "Resource": "{ENTER_YOUR_SERVICE_ROLE_ARN_HERE}"
        },
        {
            "Sid": "VisualEditor3",
            "Effect": "Allow",
            "Action": [
                "ecr:GetDownloadUrlForLayer",
                "ecr:BatchGetImage",
                "ecr:BatchCheckLayerAvailability",
                "ecr:PutImage",
                "ecr:InitiateLayerUpload",
                "ecr:UploadLayerPart",
                "ecr:CompleteLayerUpload",
                "ecr:GetAuthorizationToken"
            ],
            "Resource": "*"
        }
    ]
}
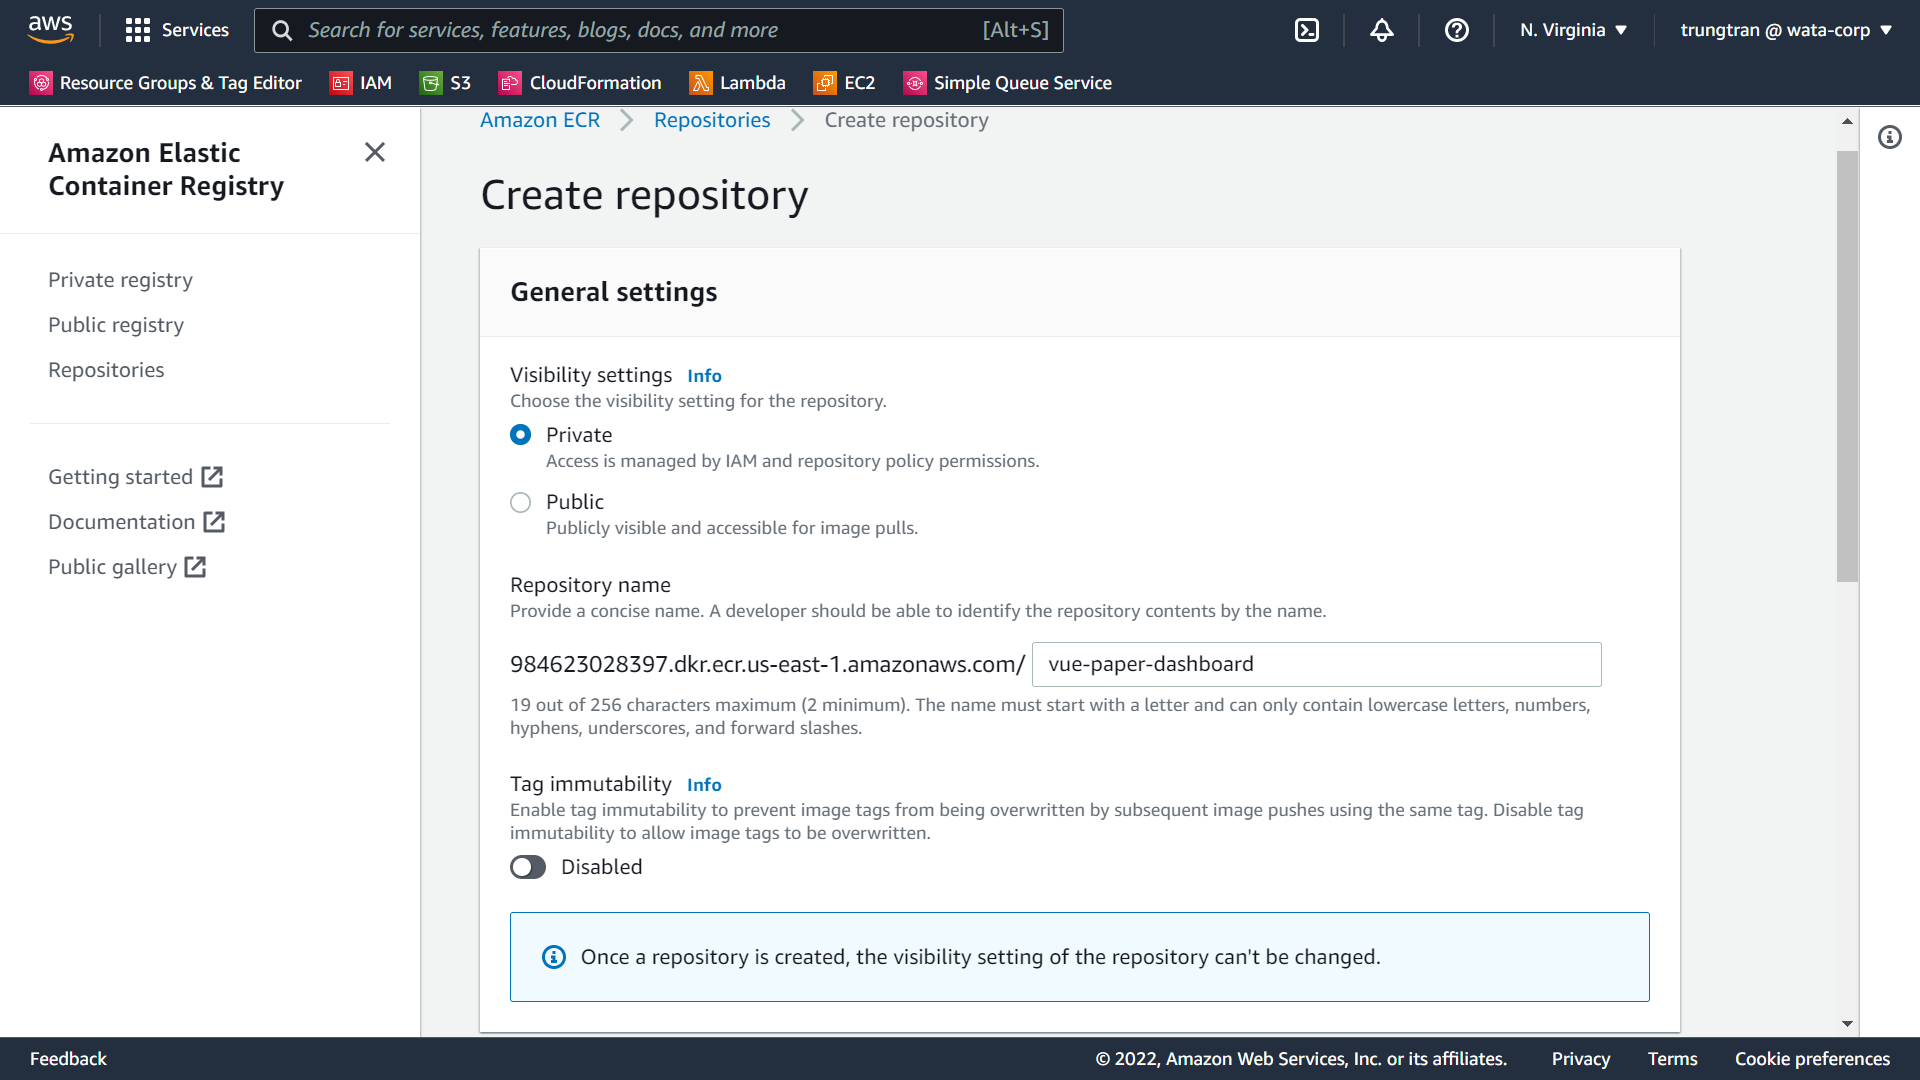
We're almost there, one final step is to create a private repository on ECR to manage our Docker images.
3. Work with GitHub Actions
Go to Settings/Secrets/Actions on your GitHub repository and add all necessary secret variables:
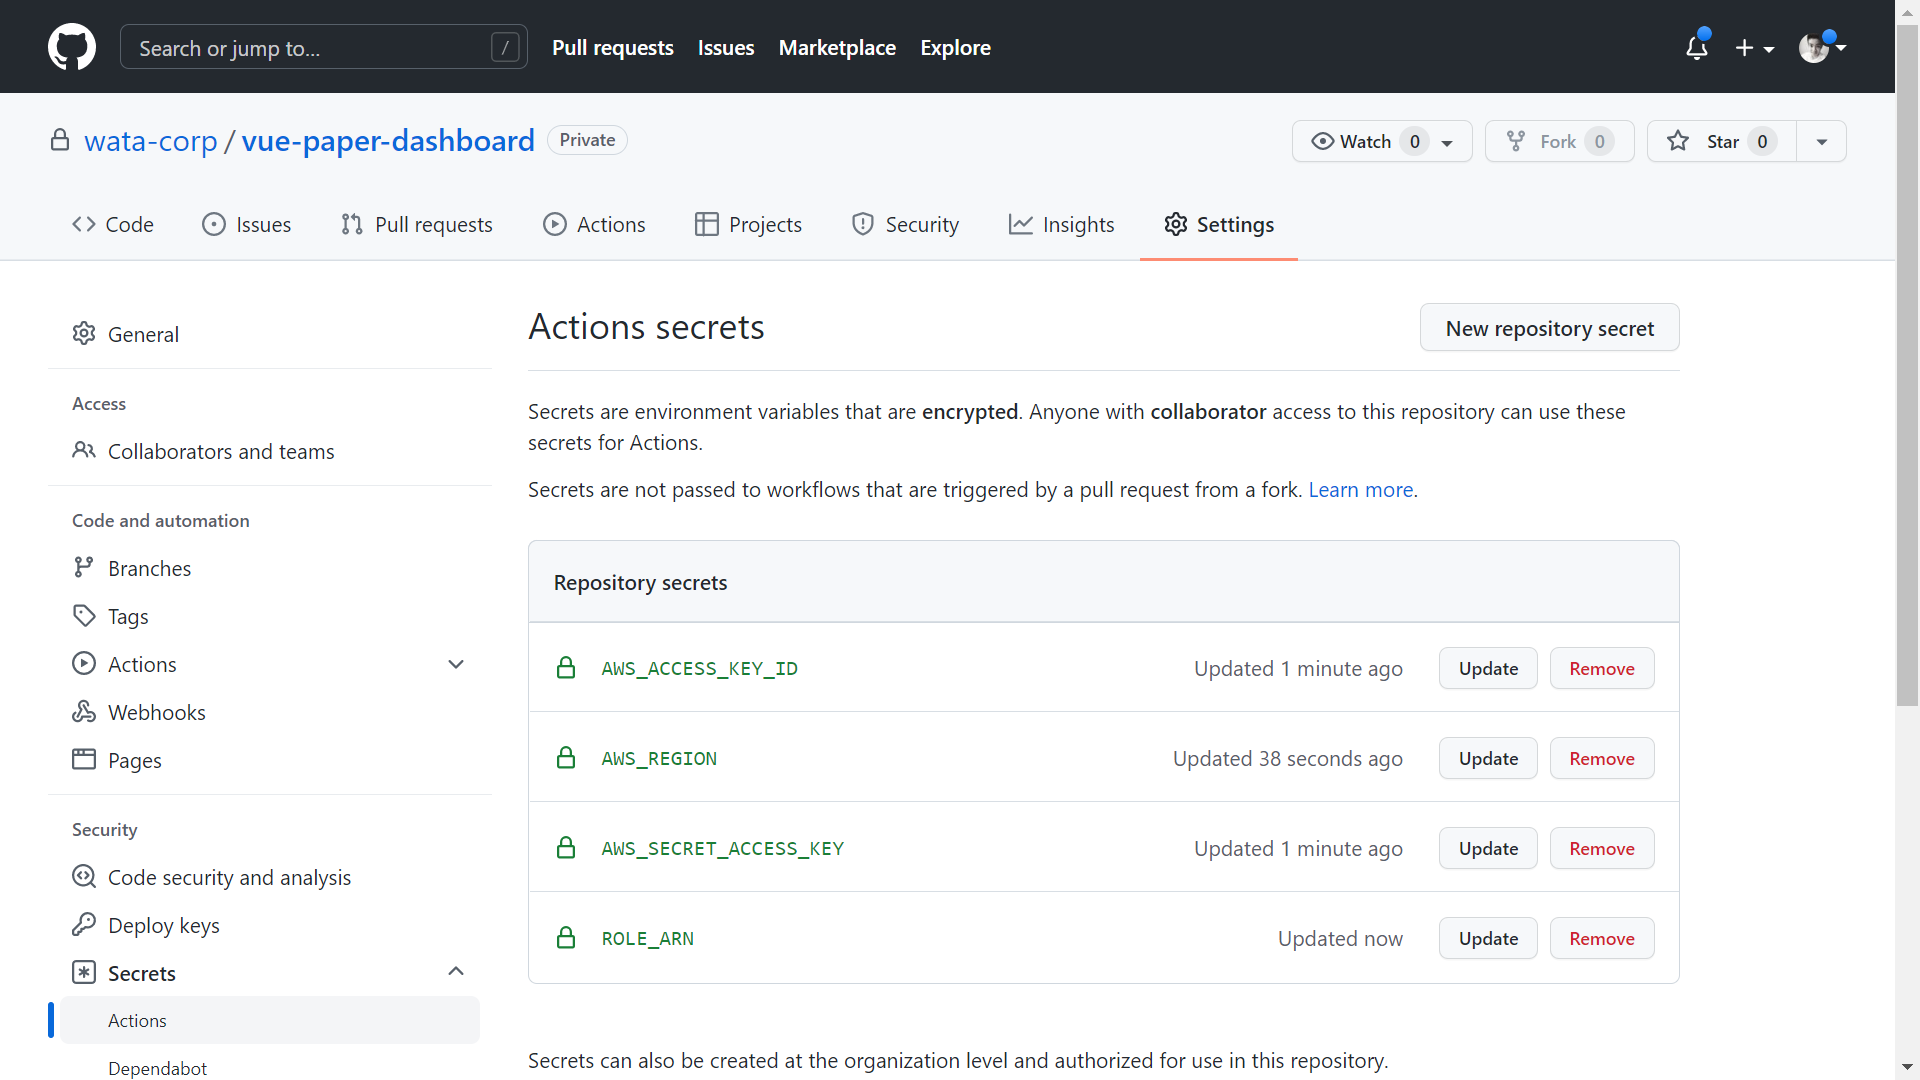
AWS_ACCESS_KEY_ID, AWS_SECRET_ACCESS_KEY: From the .csv file when we create github-vue-paper-dashboard IAM user.
AWS_REGION: us-east-1
ROLE_ARN: Arn of app-runner-service-role.
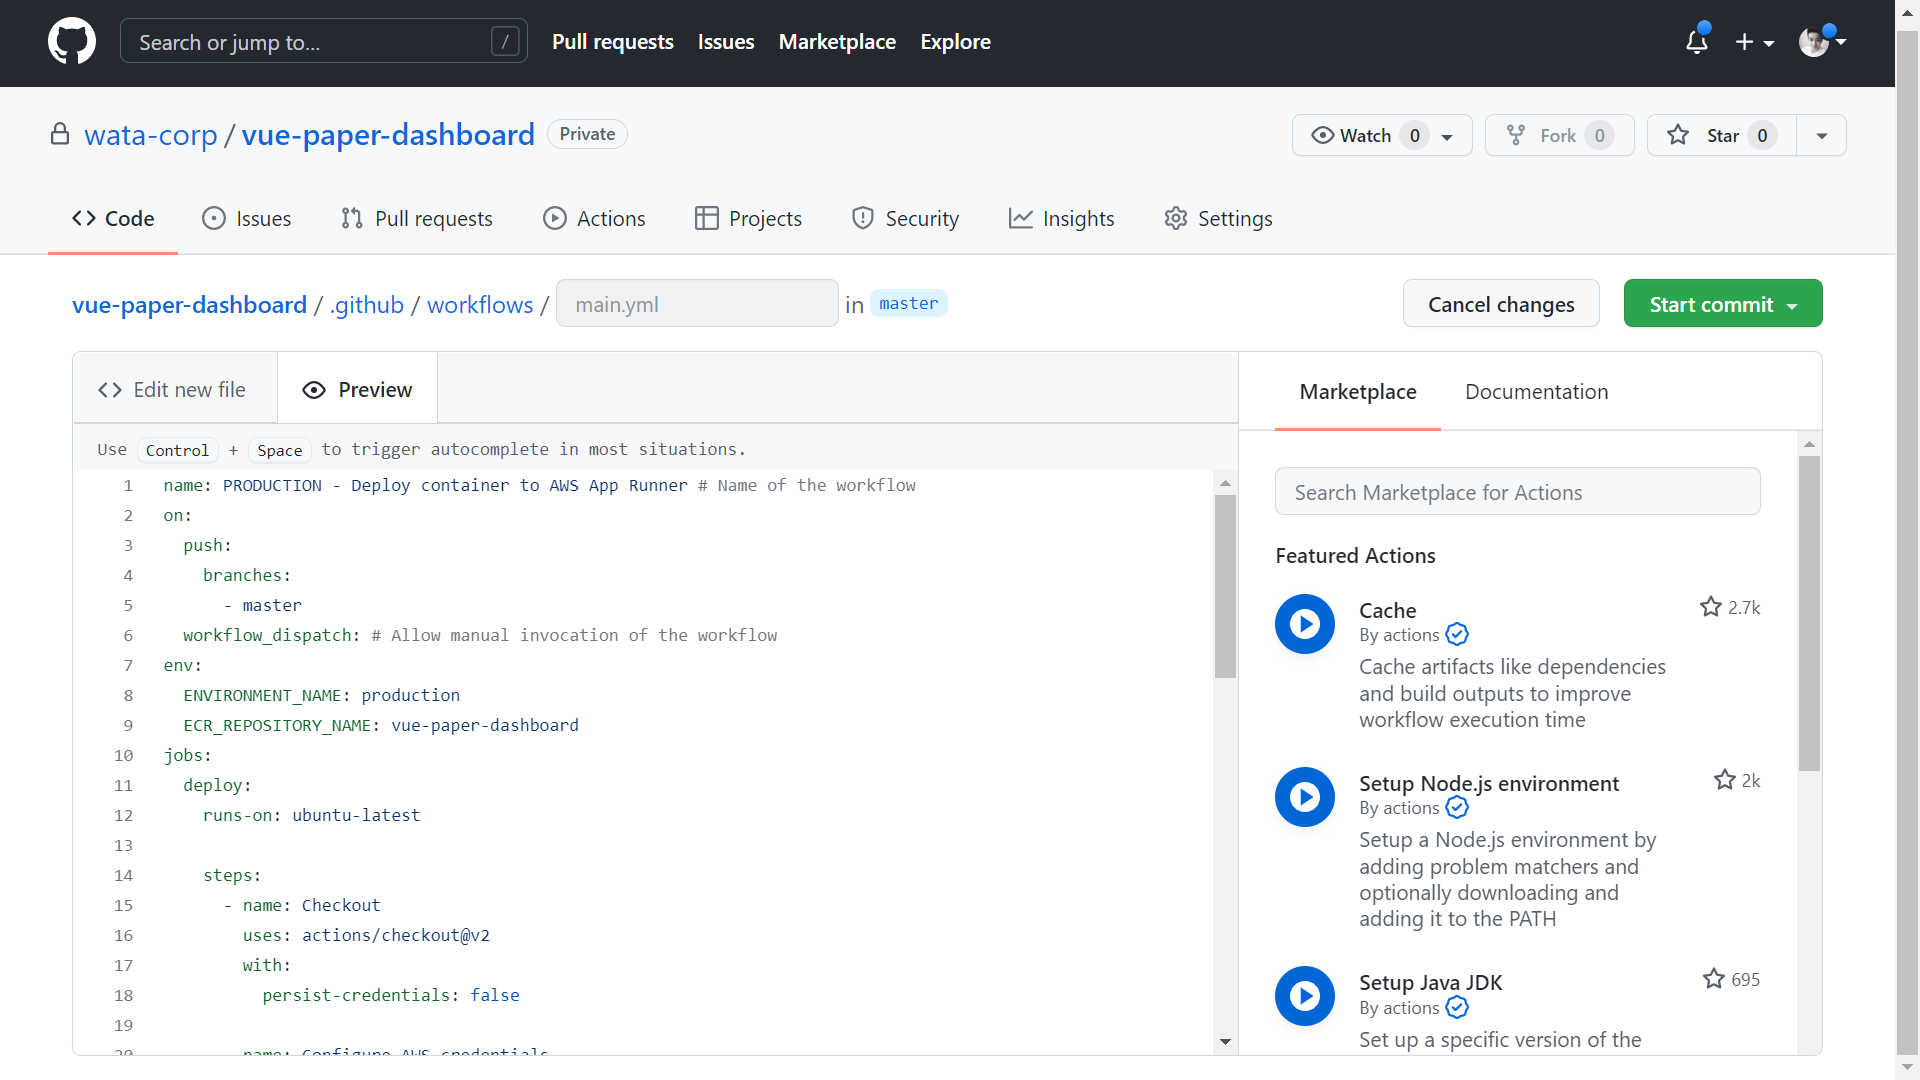
Next, back to Actions and select "set up a workflow yourself ->", on the new file editor (main.yml), populate below YAML file:
name: PRODUCTION - Deploy container to AWS App Runner # Name of the workflow
on:
  push:
    branches:
      - master
  workflow_dispatch: # Allow manual invocation of the workflow
env:
  ENVIRONMENT_NAME: production
  ECR_REPOSITORY_NAME: vue-paper-dashboard
jobs:
  deploy:
    runs-on: ubuntu-latest

    steps:
      - name: Checkout
        uses: actions/checkout@v2
        with:
          persist-credentials: false

      - name: Configure AWS credentials
        id: aws-credentials
        uses: aws-actions/configure-aws-credentials@v1
        with:
          aws-access-key-id: ${{ secrets.AWS_ACCESS_KEY_ID }}
          aws-secret-access-key: ${{ secrets.AWS_SECRET_ACCESS_KEY }}
          aws-region: ${{ secrets.AWS_REGION }}

      - name: Login to Amazon ECR
        id: login-ecr
        uses: aws-actions/amazon-ecr-login@v1

      - name: Build, tag, and push image to Amazon ECR
        id: build-image
        env:
          ECR_REGISTRY: ${{ steps.login-ecr.outputs.registry }}
          ECR_REPOSITORY: ${{ env.ECR_REPOSITORY_NAME }}
          IMAGE_TAG: ${{ github.sha }}
        run: |
          docker build -t $ECR_REGISTRY/$ECR_REPOSITORY:$IMAGE_TAG .
          docker push $ECR_REGISTRY/$ECR_REPOSITORY:$IMAGE_TAG
          echo "::set-output name=image::$ECR_REGISTRY/$ECR_REPOSITORY:$IMAGE_TAG"

      - name: Deploy to App Runner
        id: deploy-apprunner
        uses: awslabs/amazon-app-runner-deploy@main
        with:
          service: erp-app-${{ env.ENVIRONMENT_NAME }}
          image: ${{ steps.build-image.outputs.image }}
          access-role-arn: ${{ secrets.ROLE_ARN }}
          region: ${{ secrets.AWS_REGION }}
          cpu : 1
          memory : 2
          port: 80
          wait-for-service-stability: false

      - name: App Runner output
        run: echo "App runner output ${{ steps.deploy-apprunner.outputs.service-id }}"
Within the above GitHub Actions file, we go through several steps. First, it will check out the latest code from the master branch, then login to AWS ECR, build, tag, and deploy a new Docker image to our repository. And finally, it will deploy our web application to the AWS App Runner service.


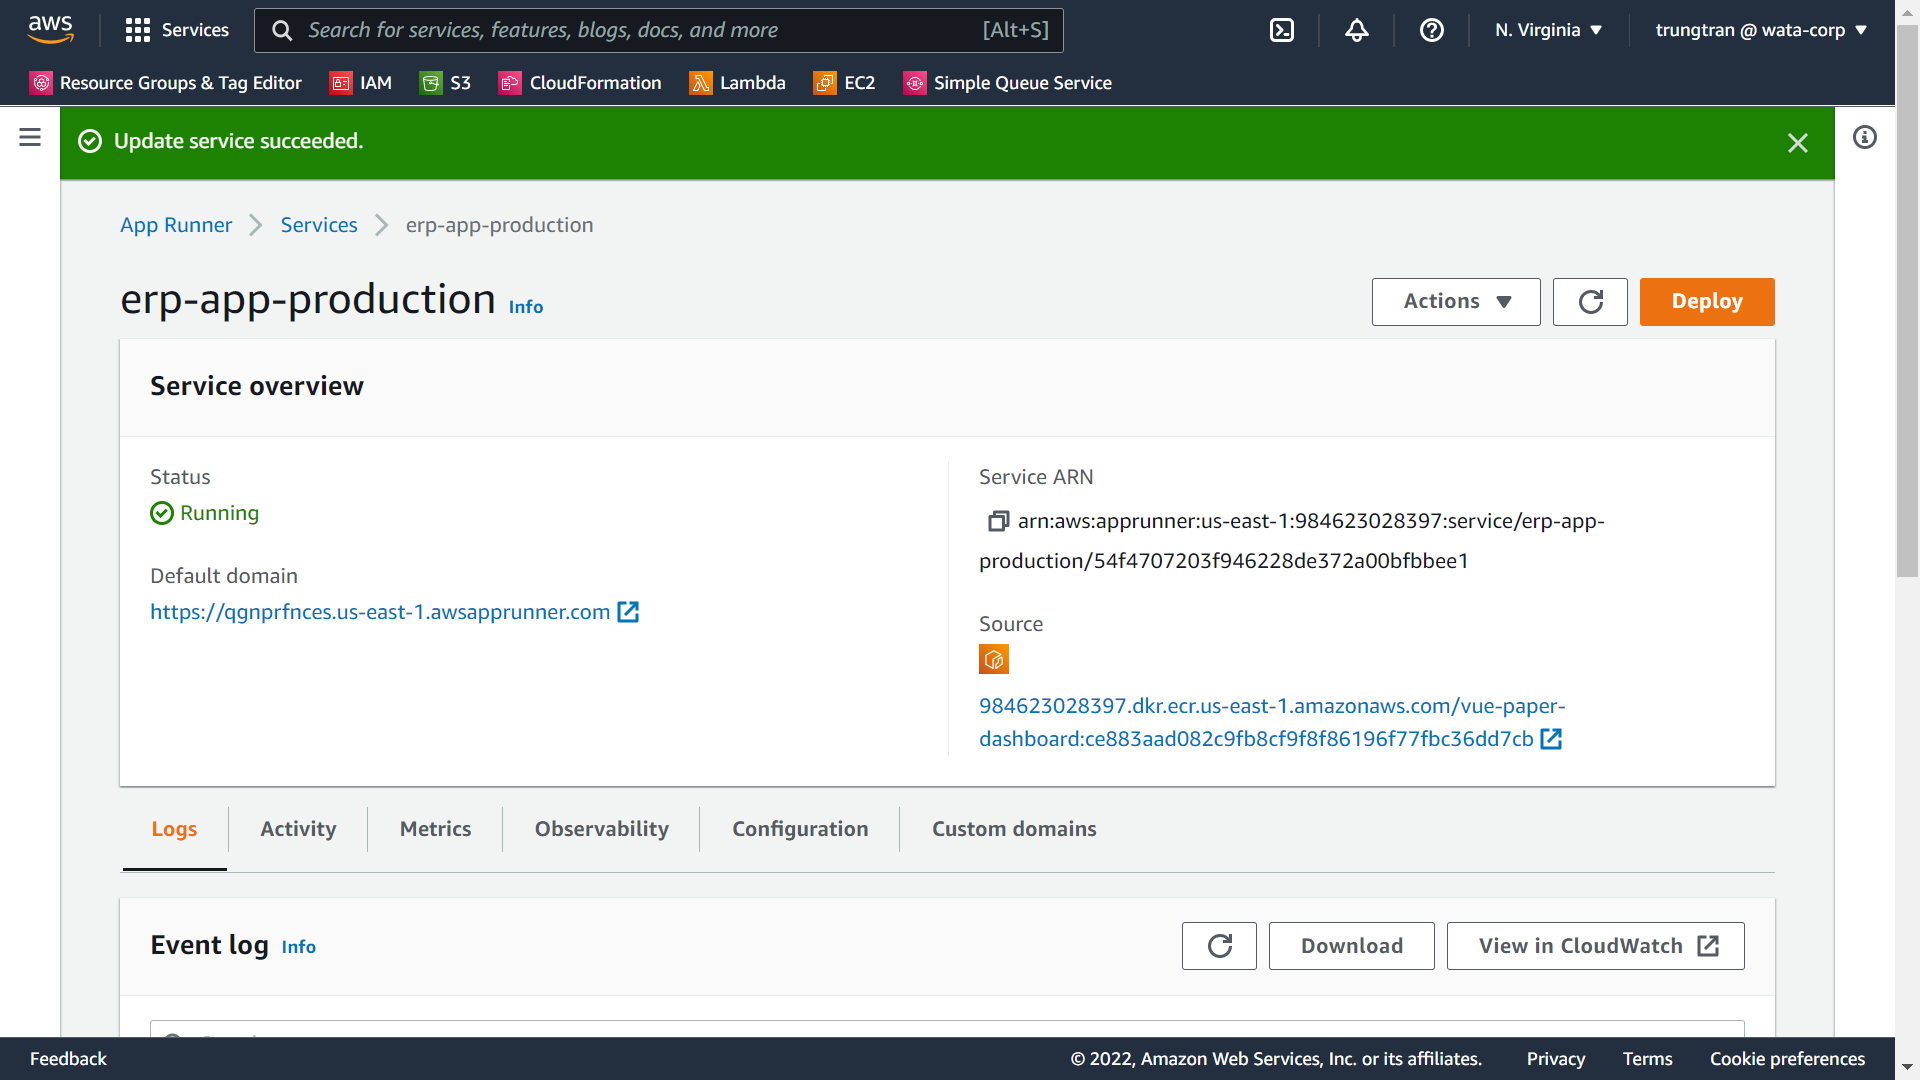
Let navigate to the App Runner service console, there will be a service named erp-app-production created (noted that we programmatically named it via this command: service: erp-app-${{ env.ENVIRONMENT_NAME }} in the main.yml file, you can change the YAML file to match your naming preferences).
4. Conclusions
Congrats, you've successfully implemented the CI/CD build pipeline for a simple Vue.js web application using Docker, GitHub Actions, AWS ECR, and AWS App Runner. Here are some notes after finishing the demo:
- Remove unused AWS resources to save cost.
- I used a Vue.js app as an input, but it is not mandatory, as long as you can dockerize your application, it doesn't matter which platform you're going to use.
- I used AWS App Runner to host my containerized web app, in real-world scenarios, it can be ECS Fargate, EKS, EC2 ... This post is just a way to go.
- I will remove all services after publishing the post so some URLs will not work.
Space for enhancements:
- Create multiple branches for each environment (Dev, Staging, Production).
- Require pull request, and trigger from this.
- Update IAM policy to scope down the resource (ARN specific instead of wildcard).
- Consider other services to run the web app.
Thanks for reading my post, see you in next posts.